1
American Microsystems, Ltd.
M5000 Portable Data Terminal
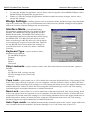
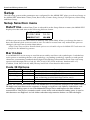
Alternate Scan Code—this option is used only for computers that run Scan Code Set 3
(some Xwindows terminals and concurrent DOS).
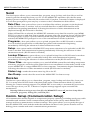
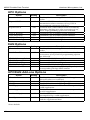
Serial Port Settings—allows the Wedge Programmer to select the baud rate,
parity and data bits and are applicable only in RS-232 serial mode.
Baud Rate—sets the transmission speed for the serial port on the wedge and must match the
baud rate of the RS-232 device. Select one of the following:
300
2400
19200
600
4800
38400
1200
9600
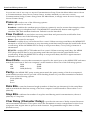
Data Bits—sets the character length (number of data bits per character) for serial data and
must match the data bits setting of the RS-232 device. Select either 7 or 8.
Parity—the parity setting must match the parity setting of the RS-232 device. Parity is used to
provide a self-checking method for data transmission. Select one of the following:
None
Even
Odd
Mark
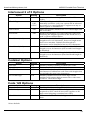
Transmit Speed—this option incorporates a slide bar and sets the speed at which data will
be transmitted to the computer. Older computer systems may require the transmission speed set to
a slower rate.
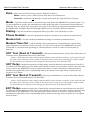
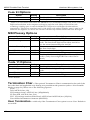
Diagnostics—option that executes a self-test program and performs the following tests on
the M5000 PDT. Close the Diagnostics window when tests are completed.
RAM Test
ROM Checksum
EEPROM Test
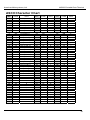
Character Set
LED Test
RS-232 Serial Loopback Test (loopback connector required)
RTS/CTS Loopback Test (loopback connector required)
Status Log
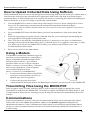
How to Upload Collected Data
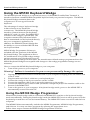
Using the M5100 Keyboard Wedge
We assume that you followed the previous steps in this section, connecting the M5100 Keyboard
Wedge and the interface cable, you are now ready to upload the collected data. The cursor must be in
the active application for you to upload your data. You can use Notepad for testing your M5000 PDT
program settings.
1.
In the Main Menu of the M5000 PDT, choose Communications, select Send, Data Files.
2.
From your PC, select the M5000 Programmer, select Communications, Send and then select the
collected data file. Your data then begins transmitting into your application and appears as
keyboard data.
3.
Once your file is successfully transmitted and a key is pressed you are prompted with a
confirmation message to Erase Uploaded Data Files? (No), if desired, press Y or toggle an arrow
14