1
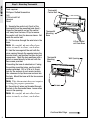
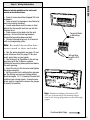
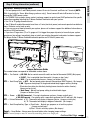
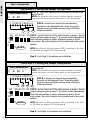
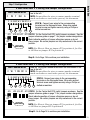
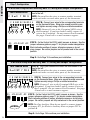
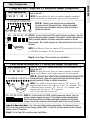
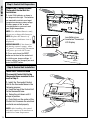
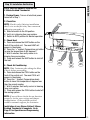
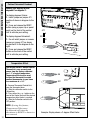
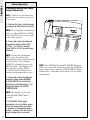
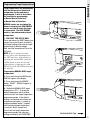
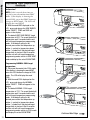
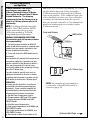
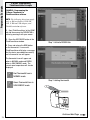
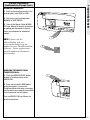
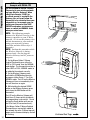
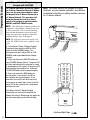
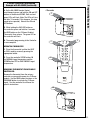
Use this method to add the Z-Wave® Thermostat to your existing network and your Wireless Gateway. When a Key Chain Remote, 3150R, (or in-vehicle remote) is used with the Gateway, this set-up will allow the thermostat to be controlled from your automobile so, for example, you can switch your thermostat into SAVE ENERGY mode when you leave your home, or switch into NORMAL mode when you arrive home. 30 RESET NORMAL SAVE ENERGY HEAT AUTO COOL ON FAN 1B 1A Scene 2 Scene Copy Scene 1 2 3 Delete 3 NOTE: The following example assumes the Wireless Gateway is the primary controller on your Z-Wave network. If it is not the primary, first add the thermostat to your network using your network’s primary controller and then follow steps 1 through 6. NOTE: Perform this procedure while the Wireless Gateway is battery powered only. Do not plug the Wireless Gateway into AC power to program. 1. On the Wayne-Dalton Z-Wave® Enabled Thermostat press either the HEAT or COOL mode, then the NORMAL mode button. The thermostat must be in either HEAT or COOL, NORMAL mode, to be added to the network correctly. 2. On the Wireless Gateway, press and hold the SCENE button you wish to program (either Scene 1, 2 or 3) for NORMAL mode. The LED on the Wireless Gateway will turn on immediately, then turn off, then turn on again. 3. While holding the desired SCENE button on the Wireless Gateway, press and release the BIND button on the thermostat. The LED on the Wireless Gateway will flash three (3) times quickly to indicate the programming is successful. Do not release the Scene button until you see the LEDs flash (30 second max wait.) If the Wayne-Dalton Z-Wave® Enabled Thermostat was successfully added to the network the entire Z-Wave® logo will appear on the thermostat display and will be flashing. COOL Programming Examples Z-Wave® Programming Example with WDHA-12R COOL RESET NORMAL Continued Next Page SAVE ENERGY HEAT AUTO COOL F