1
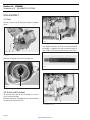
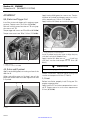
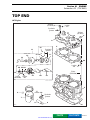
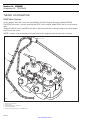
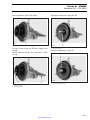
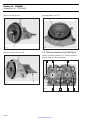
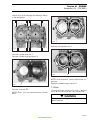
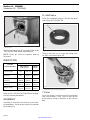
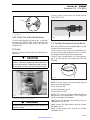
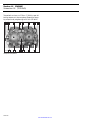
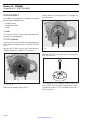
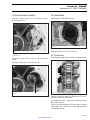
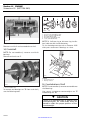
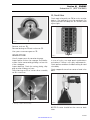
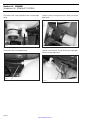
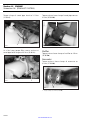
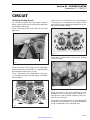
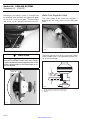
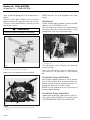
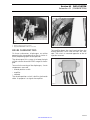
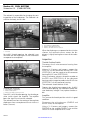
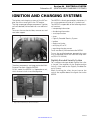
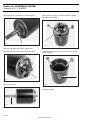
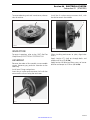
Section 01 ENGINE
Subsection 02 (TOP END)
To easily insert circlip no. 8, use circlip installer
(P/N 290 877 517).
1
AUS
A01C01A
TYPICAL — PISTON DOME SHOWN
1. Exhaust side
9,10, Piston Pin and Roller Bearing
To install roller bearing and piston pin, use piston
pin puller (P/N 290 877 094) used at removal. For
installation procedure, refer to the 1997 Sea-Doo
Shop Manual.
8, Circlip
Secure circlips no. 8 taking into consideration the
following.
-
CAUTION
To minimize the stress on the circlips, install
them so that their openings are located at 6
o’clock (at bottom). Always use new circlips.
At installation, take care not to deform them.
F06B01A
1
1. Circlip installer
1,2, Cylinder Head and Cylinder Block
Both the cylinder head and cylinder block are positioned with locating dowels.
There is only one way to install cylinder base gasket no. 6 and cylinder head gasket no. 5. They are
also properly positioned by locating dowels.
To easily slide cylinder block no. 2 over pistons
no. 7, install on piston ring compressor (P/N 290
876 965).
A01B1TA
1
1. Ring compressor
1
F06D18A
1. Circlip opening at 6 o’clock (at bottom)
◆
WARNING
Always wear safety glasses when installing
piston circlips.
NOTE: For each ring, make sure to align ring end
gap with piston locating pin.
Install studs no. 25.
Install cylinder block no. 2.
Install O-rings no. 26.
NOTE: The O-rings must be installed and properly
positioned in the cylinder block. The O-rings are
meant to dampen stud vibration.
Apply Loctite 242 (blue) on the threads of the cylinder block studs no. 25.
Apply Loctite 242 (blue) below head of cylinder
head bolts no. 3.
Apply synthetic grease on threads of cylinder
head bolts no. 3.
01-02-9
www.SeaDooManuals.net