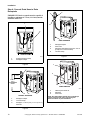
1
Installation
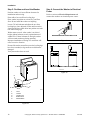
Step 5: Position and Level the Washer
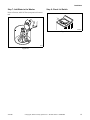
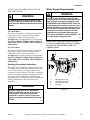
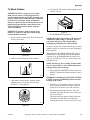
Step 6: Connect the Washer to Electrical
Power
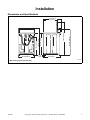
Position washer so it has sufficient clearance for
installation and servicing.
Refer to section on Electrical Requirements and
connect the washer to an electrical power source.
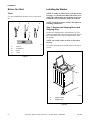
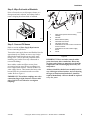
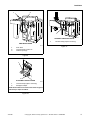
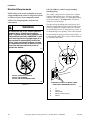
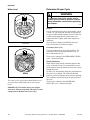
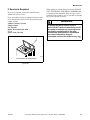
Place rubber feet on all four leveling legs.
Place washer in position on a clean, dry, and firm
floor. Do not install the washer on carpeting.
Loosen 7/8 inch locknuts and adjust the two front
leveling legs. Once adjusted, tilt the unit forward on
front legs and lower back down into position to set the
rear self-leveling legs.
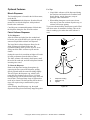
Washer must not rock. After washer is at desired
height, tighten locknuts securely against bottom of
washer base. If these locknuts are not tight, washer
will not remain stationary during operation.
Improper installation or flexing of a weak floor will
cause excessive vibration.
D254I
WASHER MANUFACTURED WITH PLUG
D254I
Figure 13
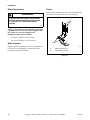
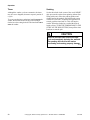
Do not slide washer across floor once the leveling legs
have been extended, as legs and base could become
damaged.
Verify that washer does not rock.
1
TLW1937N
W458IE1A
WASHER MANUFACTURED
WITHOUT
PLUG
TLW1937N
W458I
Figure 14
5
2
3
4
W179I
1
2
3
4
5
Level
Locknut
Leveling Leg
Rubber Foot
Washer Base
Figure 12
12
© Copyright, Alliance Laundry Systems LLC – DO NOT COPY or TRANSMIT
33971R6