1
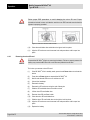
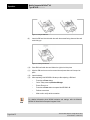
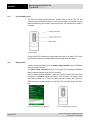
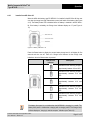
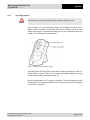
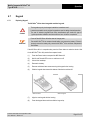
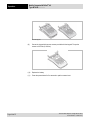
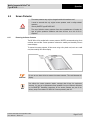
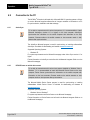
Mobile Computer MC 95xxex-NI
Type B7-A29.-…………
7.2
Trouble Shooting
Resetting the MC 95xxex-NI
There are two resetting functions: Warm boot and cold boot. In the case of a warm boot
the MC 95xxex-NI is restarted by closing all executed programs. In the case of a cold boot,
the MC 95xxex-NI is also restarted and, in addition, some drivers initialised. Data stored in
a flash memory or on a memory card are not lost.
Carry out a warm boot first if the MC 95xxex-NI does not function properly. If the
MC 95xxex-NI still doesn’t respond, carry out a cold boot.
7.2.1
Warm boot
Executing a warm boot
Press the red power switch (Power) for about five seconds. Release the power switch
(Power) as soon as the MC 95xxex-NI begins with the start procedure.
7.2.2
Cold boot
Executing a cold boot
To execute a cold boot keep the keys 1 and 9, as well as the red power switch (Power)
pressed simultaneously.
7.2.3
Clean Boot
A clean boot should only be performed by an authorized system administrator. You
must connect the MC 95xxex-NI to AC power during a clean boot. Removing AC power
from the MC 95xxex-NI during a clean boot may render the MC 95xxex-NI inoperable.
Caution!
A clean boot resets the MC 95xxex-NI to the factory default settings. All data in the
Application folder is retained. You must download the Clean Boot Package file from the
Support Central web site by Motorola
-
Support – software Download – Mobile Computer – MC95xx
-
Click on “More for complete list”
and install on the MC 95xxex-NI.
To perform a clean boot:
1. Download the Clean Boot Package from the Support Central web site. Follow the
instructions included in the package for installing the package onto the MC 95xxex-NI.
2. Simultaneously press the Power button and the 1 and 9 keys.
3. Immediately, as soon as the device starts to boot and before the splash screen is
visible, press and hold the left scan button.
4. Insert the MC 95xxex-NI into a powered cradle or cable.
5. The MC 95xxex-NI updates and then re-boots.
6. After successful clean boot, the calibration screen appears.
Technical data subject to change without notice.
Issue: Revision 1 / March 2011
Page 45 of 57