1
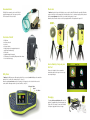
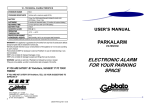
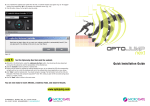
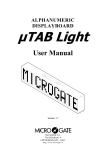
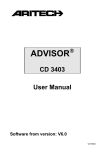
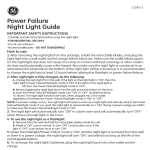
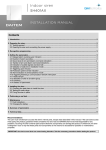
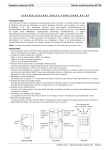
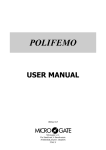
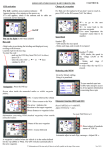
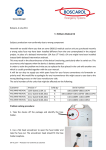
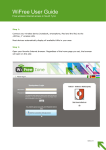
Witty Manager Software
The USB stick contains the Witty Manager software, as well as the relevant user manual, which you should open or print.
To execute the program, the PC must run Windows OS (XP/Vista/7/8). The steps for installing (chapter 2) and
using the software (chapter 3) are explained in detail in the software user manual..
QUICK GUIDE
ENG
www.microgate.it/witty
VIA STRADIVARI, 4 . BOLZANO . ITALY . TEL. +39 0471 501532
FAX +39 0471 501524 . [email protected] . WWW.MICROGATE.IT
Documentation
Photocells
The Witty Kit user manual is stored on the USB stick
inside the backpack pocket. Please open or print the
PDF file referred to in this Quick Guide.
To switch on the photocell press the ON button for one second; the status LED blinks with a green light (if the battery status is sufficient) or with an orange light (if the battery status is low). A continuous beeping sound is produced
until the correct alignment with the reflector (or a similar reflecting surface) is found.
Mount the photocells and the reflectors on the tripods supplied with the kit as explained in chapter 2.2.1
BEEEEP…
Contents of the Kit
•
•
•
•
•
•
•
•
•
1 Witty timer
2 wireless photocells
2 reflectors
4 telescopic tripods
1 battery charger (for charging both photocells
and the timer simultaneously)
4 USB cables
1 padded backpack for transport
1 USB memory stick containing Witty manuals and software
1 Quick Guide (hard copy)
How to Quickly Carry out your
First Test
Please refer to chapter 3 of the user manual for
a detailed description of the steps to follow to carry
out a simple timing test.
Witty Timer
To switch on the Witty timer, press <Microgate> and hold it for one second; to switch it off, press the same button
and hold it for 5 seconds, then confirm pressing F1. (chap. 2.1)
Browse the graphic user interface using the 4 arrow keys of the keypad, use the <Ok> button in the center to
confirm, and the <Microgate> button to go back (Back/Esc) (chap. 2.4)
<Microgate> Button
Keypad
<OK> Button
Charging
To recharge the timer and the photocells connect the
plug that is compatible with your national mains type
(Europe, UK, USA, Australia). Connect the USB cables
to the power supply and the devices to charge.