1
3.
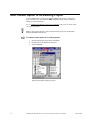
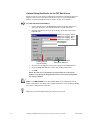
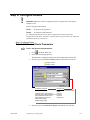
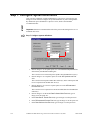
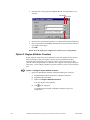
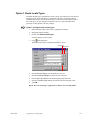
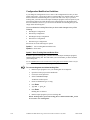
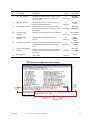
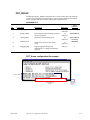
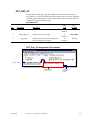
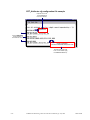
Enter the region ID for which you want to display graphical information in the
Region field.
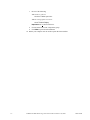
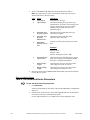
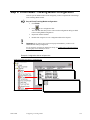
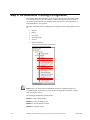
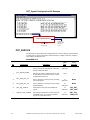
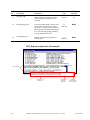
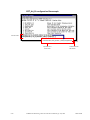
PRT_ASSOC_ITEM
PRT_ITEM_ID
PRT_ITEM_STATUS
PRT_ITEM_TYPE_ID
PRT_REFERENCE_ID
Select a Point
PRT Browse
Popup menu
4.
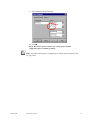
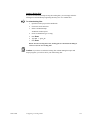
Select one of the default options or type in an attribute name in the Attribute
field.
5.
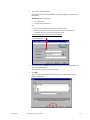
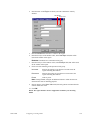
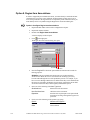
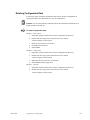
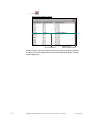
Enter the name of an array point in the Display Point ID field that will populate
the graphic screen with values about the item type in the region.
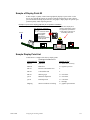
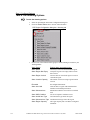
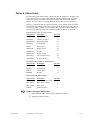
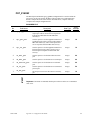
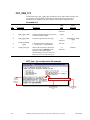
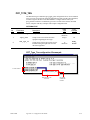
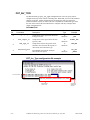
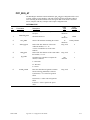
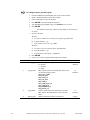
Guidelines for display points:
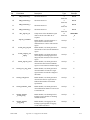
Attribute
Point Guideline
PRT_ASSOC_ITEM
Text point that must define a text size of at least 20.
PRT_ITEM_ID
Text point that must define a text size of at least 20.
PRT_ITEM_STATUS
Analog point that must be of type ANALOG_U32.
PRT_ITEM_TYPE_ID
Text point that must define a text size of at least 20.
PRT_REFERENCE_ID
Text point that must define a text size of at least 20.
USER DEFINED
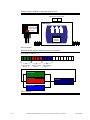
Text point with the number of region locations
covered by the point equaling the number of elements
in the array. Calculate elements as follows:
End location – Start Location +1.
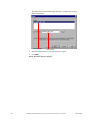
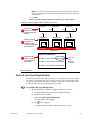
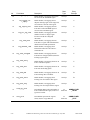
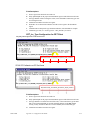
6.
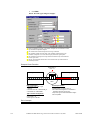
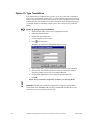
Enter the Start Location in the region.
7.
Enter the End Location in the region.
8.
Enter the Start Byte that will be populated with this attribute data.
9.
Enter the End Byte that will conclude population of this attribute data.
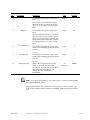
Note: Use 0 in the both the Start and End byte fields if you do not plan to use
this point to collect any other data.
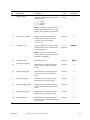
10. Enter the name of the item class that will provide values for this point in the
Item Class ID field.
4-26
CIMPLICITY HMI Monitoring and Control Products Manual –July 2001
GFK-1694B