1
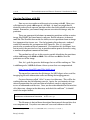
v. 3.78 The Law Enforcement and Forensic Examiner's Introduction to Linux So, when we pass conv=noerror to an imaging command, we are actually asking our imaging tools to “grind through” the bad areas. Why not initially skip over the bad sections altogether, since in many cases recovery may be unlikely, and concentrate on recovering data from areas of the disk that are good? Once the “good” data is acquired, we can go back and attempt to collect data from the error areas.
In a nutshell, that is the philosophy behind ddrescue. Used properly, ddrescue will read the “healthy” portions of a disk first, and then fall back to recovery mode – trying to read data from “bad sectors”. It does this through the use of some very robust logging, which allows it to resume any imaging job at any point, given a log file to work from.
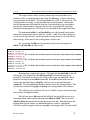
Before we go any farther with a description, let's download and install ddrescue and have a look at it's options.
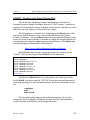
You can obtain ddrescue from:
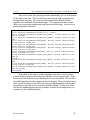
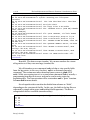
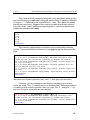
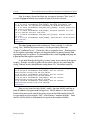
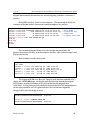
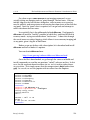
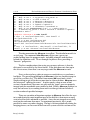
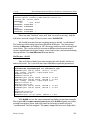
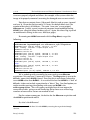
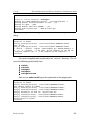
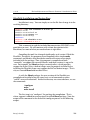
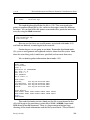
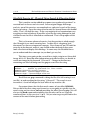
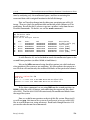
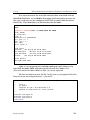
http://www.gnu.org/software/ddrescue/ddrescue.html Once the file is downloaded, we go through the same set of build and install commands we used for our previous “tarball” software archive. In this case, the file we obtain from the above site is a tar.bz2 archive rather than a tar.gz archive. This simply means that the compression is bzip2 rather than gzip. As a result, we use the j option with tar rather than the z option:
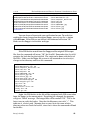
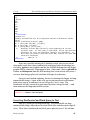
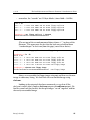
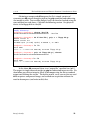
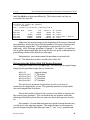
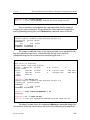
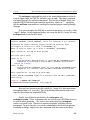
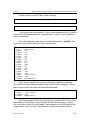
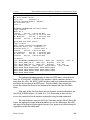
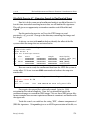
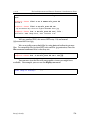
root@rock:~# tar xjvf ddrescue-1.8.tar.bz2
ddrescue-1.8/AUTHORS
ddrescue-1.8/COPYING
ddrescue-1.8/ChangeLog
ddrescue-1.8/INSTALL
ddrescue-1.8/Makefile.in
ddrescue-1.8/NEWS
<continues>
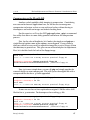
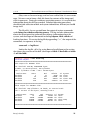
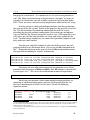
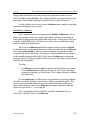
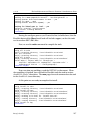
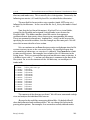
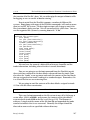
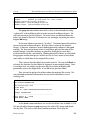
root@rock:~# cd ddrescue-1.8
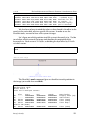
root@rock:~/ddrescue-1.8# ./configure
creating config.status
creating Makefile
VPATH = .
...
CXXFLAGS = -Wall -W -O2
LDFLAGS =
OK. Now you can run make.
<continues>
Barry J. Grundy
114