1
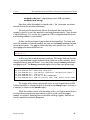
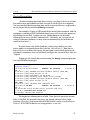
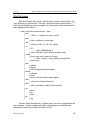
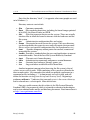
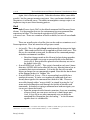
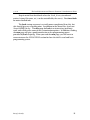
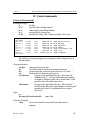
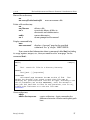
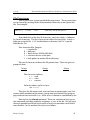
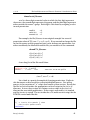
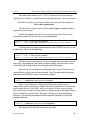
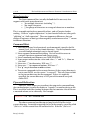
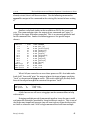
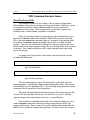
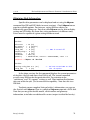
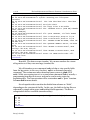
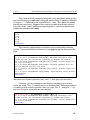
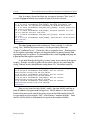
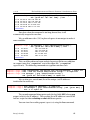
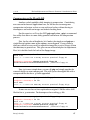
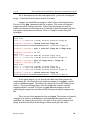
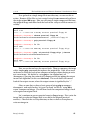
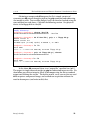
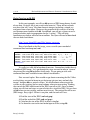
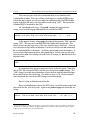
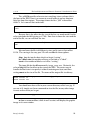
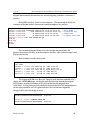
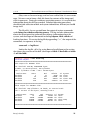
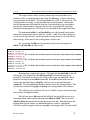
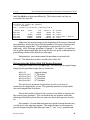
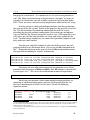
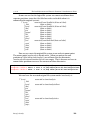
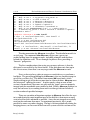
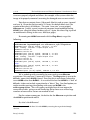
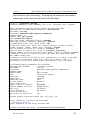
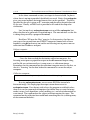
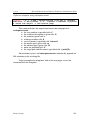
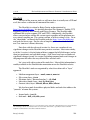
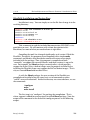
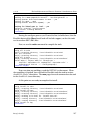
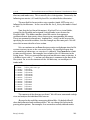
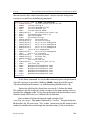
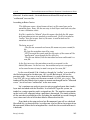
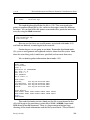
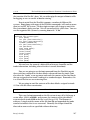
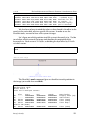
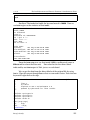
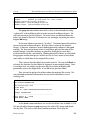
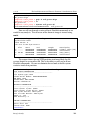
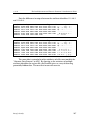
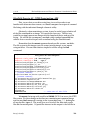
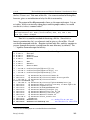
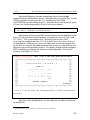
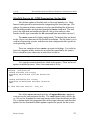
v. 3.78 The Law Enforcement and Forensic Examiner's Introduction to Linux Sleuthkit Exercise #2 – Physical String Search & Allocation Status This is another section added in response to a number of questions I've received both in classes and via email. In our original floppy disk image analysis, one of the exercises we completed was a physical search of the image for a set of strings. Once the strings were located, we viewed them with the xxd utility. That's just half the story. In the vast majority of real examinations you are going to want to find out (if possible) what file that string belonged to and whether or not that file is allocated or unallocated. That is the purpose of this exercise. This is a far more advanced exercise, but the question is asked enough that I thought it was worth covering here. I realize this is a beginner level document, but these are important concepts. Even if you rely on GUI tools for your day to day forensic analysis, you should understand exactly how your tools calculate and display their findings. In some ways the Sleuthkit forces you to understand these concepts (or you don't get very far). This time we are going to do a search for a single string in our Linux disk image able2.dd. Based on some information received elsewhere, we decide to search our image for the keyword “Cybernetik”. Change to the directory containing our able2.dd image and use grep to search for the string: root@rock:~/able2 # grep -abi Cybernetik able2.dd 10561603: * updated by Cybernetik for linux rootkit 55306929:Cybernetik proudly presents... 55312943:Email: [email protected] 55312975:Finger: [email protected] Recall that our grep command is taking the file able2.dd treating it a s a text file (a) and searching for the string “Cybernetik”. The search is case insensitive (i) and will output the byte offset of any matches (b). Our output shows that the first match comes at byte offset 10561603. Like we did in our first string search exercise, we are going to quickly view the match using our hex viewer xxd and providing the offset given by grep. We will also use the head command to indicate that we only want to see a specific number of lines, in this case just 5 (n 5). We just want to get a quick look at the context of the match before proceeding. Barry J. Grundy 150