1
5.3
Commissioning
Associating with MAC00-ELx
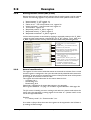
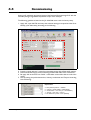
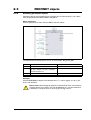
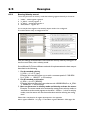
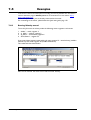
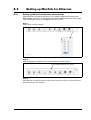
16. In the physical view of the project explorer window, right click the CPU node and
click Open POWERLINK in the pop-up menu.
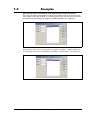
17. Right click IF3 in the opened CPU POWERLINK window, and click Insert in the popup menu.
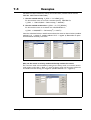
18. Select "MAC00-ELx", situated under POWERLINK devices, and click Next.
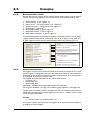
19. Enter the node ID of the device (set earlier with MacTalk) and optionally a name, and
click Next.
20. The "MAC00-ELx" should now be visible in the physical view of the project explorer
window.
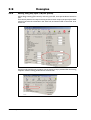
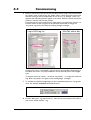
Building project and transfer to PLC
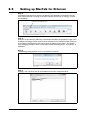
21. Select Build configuration in the Project menu.
22. When the build is finished then click the Transfer button.
23. There may appear a warning. Just ignore and click OK.
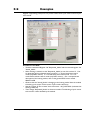
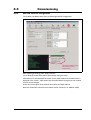
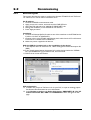
Investigating cyclic data
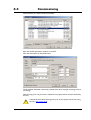
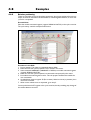
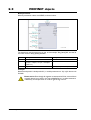
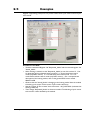
24. Right click "MAC00-ELx" in the physical view of the project explorer window and
click Open I/O Mapping.
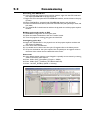
25. In the View menu click Monitor.
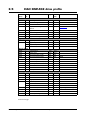
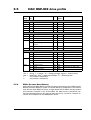
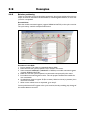
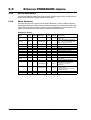
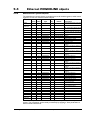
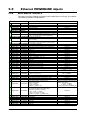
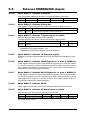
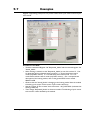
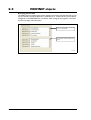
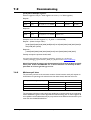
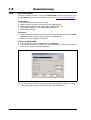
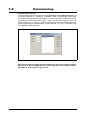
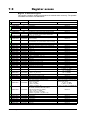
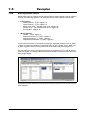
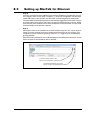
26. You should now be able to see the cyclic I/O registers like in the below picture.
27. If Force is checked for the cyclic outputs, then it's possibly to set register values in
the Force Value column that is transferred to the motor.
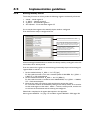
Start motor
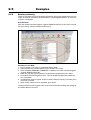
28. If the default register settings is not changed it is possibly to start motor by entering
values in the Force Value column.
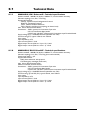
29. Enter 1023 in OUT_FourthEntry (Torque = 300%).
30. Enter 1000 in OUT_ThirdEntry (477 RPM if MAC140).
31. Enter 1 in OUT_FirstEntry (Mode = Velocity).
TT3034GB
JVL Industri Elektronik A/S - User Manual - Ethernet expansion modules for MAC motors
103