1
!"#$%&'()%*+,,-.."/01.E&..2134153/67.89:;<.=7.'(>>..?@(>."%
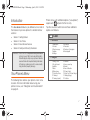
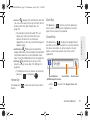
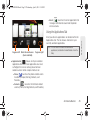
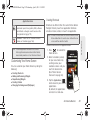
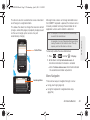
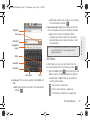
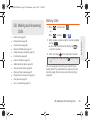
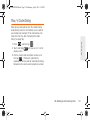
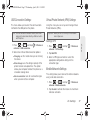
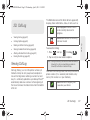
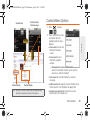
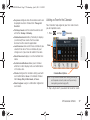
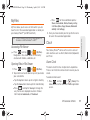
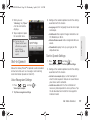
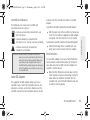
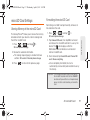
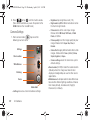
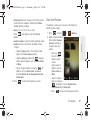
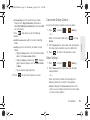
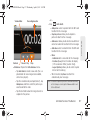
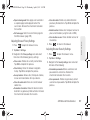
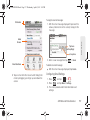
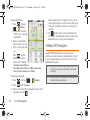
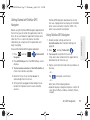
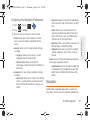
The default view for the Calendar is the Month
view.
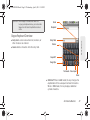
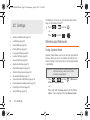
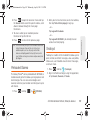
" To change the view, tap the available tabs along
the top (in portrait view) or the left (in landscape
view) of the Calendar screen. Choose from Month,
Week, Day, and List.
"
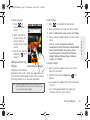
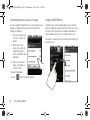
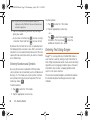
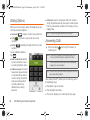
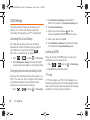
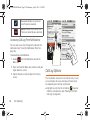
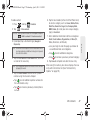
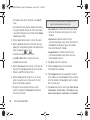
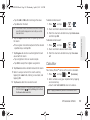
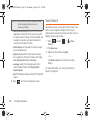
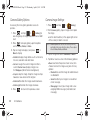
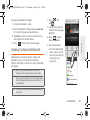
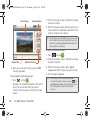
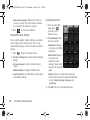
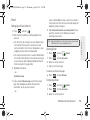
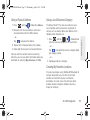
3. Tap the Event field and enter a title for the event.
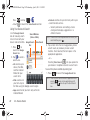
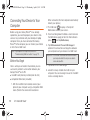
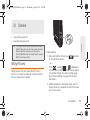
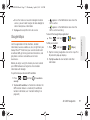
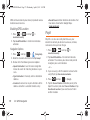
4. Select a From/To date and time for the event by
tapping the corresponding fields, and adjusting the
values by tapping
or
.
" Tap the time field and enter a time.
" Tap AM or PM button to change the value.
" Tap Set when finished.
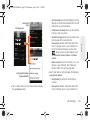
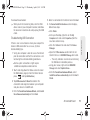
5. Tap the Time zone field and select a time zone for
this event. Or tap Show all and select a time zone.
Default is (GMT-5:00) Central Time.
6. Tap the All day field to assign this as an all day
event. If assigned as an all day event, the time
fields are removed as options.
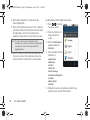
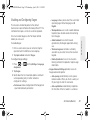
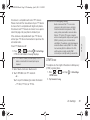
7. Assign the new calendar event to a current
account by tapping the Calendar field and then
selecting an account.
98
2F. Calendar & Tools
Note: Some of the available options are dependant on the
type of currently available email accounts.
"
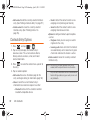
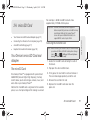
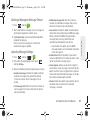
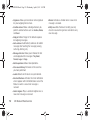
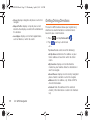
My calendar are calendar entries that are stored
locally on the device and not part of an email
account.
" Corporate are calendar entries that are
synchronized between your device and either an
MicroSoft Exchange Sync Server or available
from within Microsoft® Outlook®.
" Google/Gmail are calendar entries that are
synchronized between your device and your
online Google account.
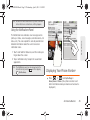
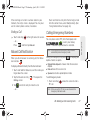
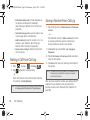
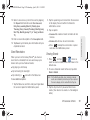
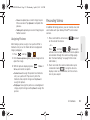
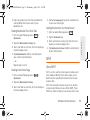
8. Tap OK to confirm the selection.
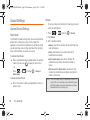
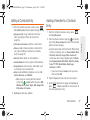
9. Tap the Location field, enter the location
information, then tap Save.
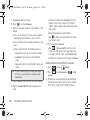
10. Tap Participants and enter a participant name or
email address, or select Contact to select a contact
from the Contacts list, Recently to select a contact
from a recent event.
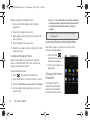
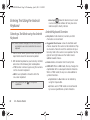
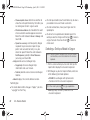
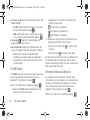
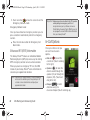
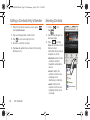
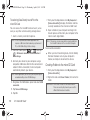
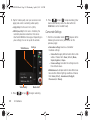
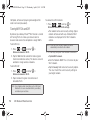
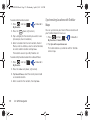
11. Tap Alarm and select an alarm type: None, On time
5 mins before, 15 mins before, 1 hour before, 1 day
before, 2 days before, 1 week before, or Customize.
![Geneva Motor Show Highlights [p23] BMW starts using](http://vs1.manualzilla.com/store/data/005908572_1-3c7305169b56611097f3edc8348ebe76-150x150.png)