1
α2 Simple Application Controllers
6.10
Function Blocks 6
TimeSW Block
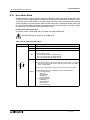
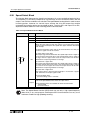
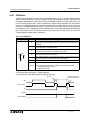
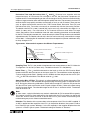
The real time clock within the TimeSW block can be programmed for date or weekly schedule
operation. Up to 50 time settings can be programmed into each Function Block and up to 200
function blocks can be used in any program. The total memory for a α2 program is 5000 bytes;
the number of time switches available will be limited by the program memory. Switch setting
numbers must be created with the NewData option. To input or update the data, scroll to the
desired time switch, press the “OK” key, and use the EditData function.
The difference between TS and TSm is allowable maintenance (m) from the TopMenu
“Parameter” in the α2 controller for direct programming.
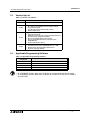
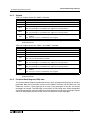
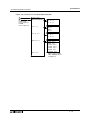
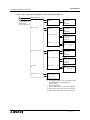
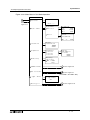
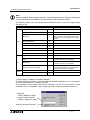
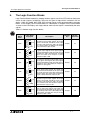
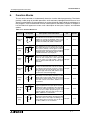
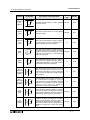
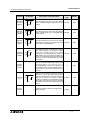
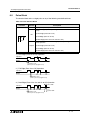
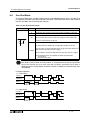
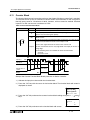
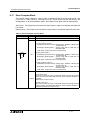
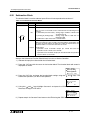
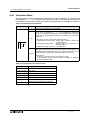
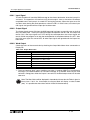
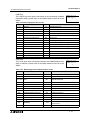
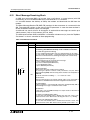
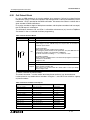
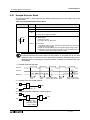
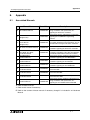
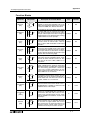
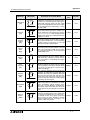
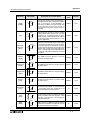
Table 6.11: Time Switch Function Block
Function
Set Item
Description
FB
A function block can register 50 set schedules or less. The function
capacity for a controller is 200 blocks. The real-time clock
functionality is restricted by the 5000 byte memory capacity for the
controller.
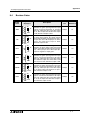
000
P
O
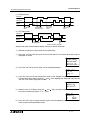
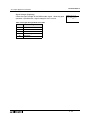
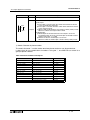
1) The ON and OFF status of the output is controlled by the
scheduled calendar.
TS
Output
2) The date assignment is given priority if both date and week
assignments occur on the same scheduled day.
3) The largest schedule number is given priority when more than one
time switch function block occurs on the same day.
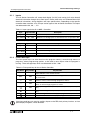
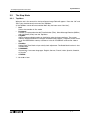
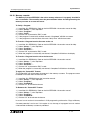
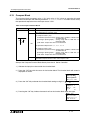
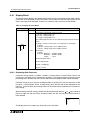
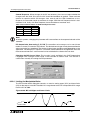
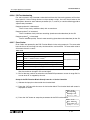
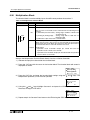
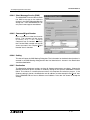
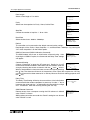
6.10.1 Setting the First Time Switch
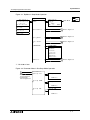
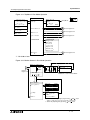
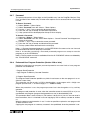
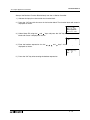
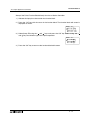
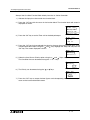
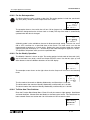
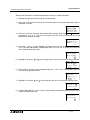
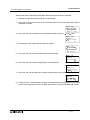
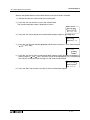
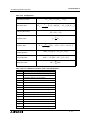
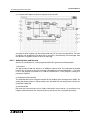
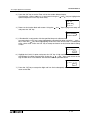
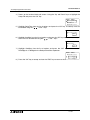
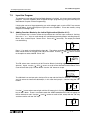
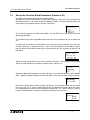
Enter the Function Block Setup Screen and the message “No Setting Data” will appear. Press
the “OK” key to enter the NewData Screen. The New Data screen lets you choose between
using a calendar type of setting (Date) or a repetitive type of setting (Weekly). Each TimeSW
Block can mix Date and Weekly time switches indiscriminately.
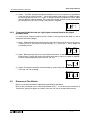
B0 0 1 : TS # 0 1
N e wD a t a
We e k l y
Da t e
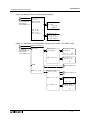
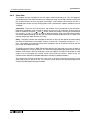
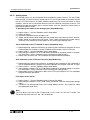
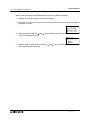
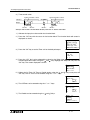
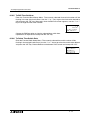
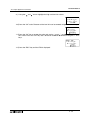
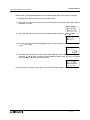
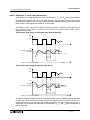
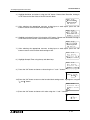
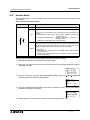
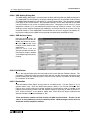
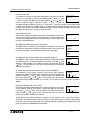
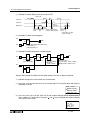
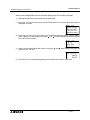
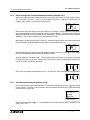
After choosing the type of time switch, a screen will appear with a time switch number flashing
in the top right corner. This screen is used to select the time switch to edit by using the “+” or “” keys. The only time switch available to begin is TS #01. Press the “OK” key to display the
option screen shown at right.
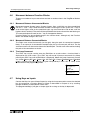
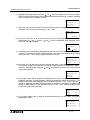
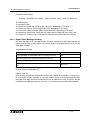
B0 0 1 : TS # 0 1
Ed i t Da t a
N e wD a t a
De l Da t a
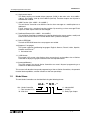
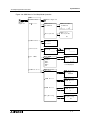
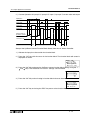
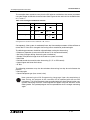
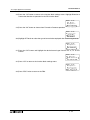
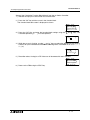
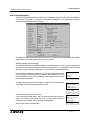
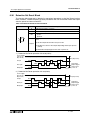
EditData - Edit the data for the time switch number shown in the top line.
NewData - Add a new time switch. Time switch numbers will increment from the highest
current number.
DelData - Deletes a time switch. Higher numbered time switches will decrement.
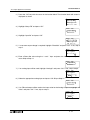
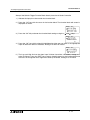
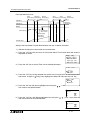
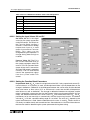
Choose EditData and enter data as described in the following sections:
6 - 23