1
Step 4: Termination / provider configuration
Now, we have completed setting up prerequisites. This is time to setup an active or
working supplier/provider/terminator/gateway. Adding Gateway, we will include
into routing plan where we will plan which traffic will get terminated where. We
will do these in following steps.
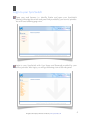
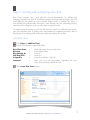
Add Gateway
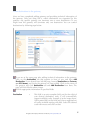
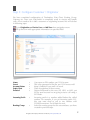
Go to Termination >> Gateway >> Add Gateway
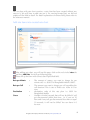
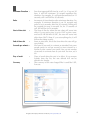
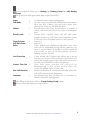
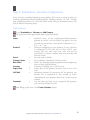
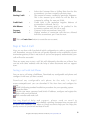
Fill up the form with appropriate data in specified fields.
Name
:
Protocol
:
Secret
Gateway Status
Rate Chart
:
:
:
Currency
Expiry Date
:
:
Call limit
:
Comment
:
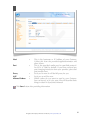
Identical name of the supplier/provider/terminator/
gateway by which you can exactly recognize. You can
provide any name here. Avoid special characters i.e. *,
#, $, :, @, “” etc.
Protocol configured on your gateway. If your Gateway
is configured for SIP and you set here H.323, your
routing will not work and your calls will not be
succeeded. So, please confirm with your provider and
then set it here.
For now, leave it blank.
Set it enabled, if disabled, it will not work.
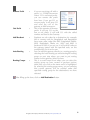
Select the buying/provider/supplier/terminator/gateway
rate you have created before.
Currency for billing, set it USD for now.
Expiry date of the gateway account, leave it as it is for
now.
Maximum number of concurrent call the gateway can
handle, this is equivalent to the number of active
channels/ports your gateway does have. Set the correct
number.
Any text that can help you to recognize this gateway,
you can keep it blank as well.
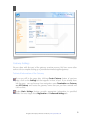
After filling up the form, click Create Gateway Button.
All right reserved by Synchronous. Powered by www.syncswitch.com
12