1
Upgrading The Computer
3.
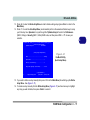
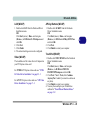
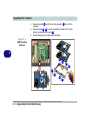
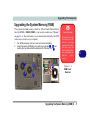
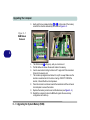
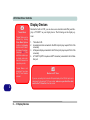
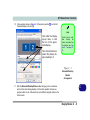
Gently pull the two release latches ( 6 & 7 ) on the sides of the memory
socket in the direction indicated by the arrows in Figure 6 - 5.
Figure 6 - 5
RAM Module
Removal
6
7
8
8
6
6
4.
5.
6.
7
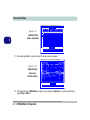
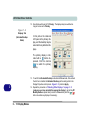
The RAM module 8 will pop-up, and you can remove it.
Pull the latches to release the second module if necessary.
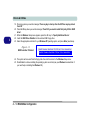
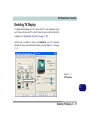
Insert a new module holding it at about a 30° angle and fit the connectors
firmly into the memory slot.
7. The module’s pin alignment will allow it to only fit one way. Make sure the
module is seated as far into the slot as it will go. DO NOT FORCE the
module; it should fit without much pressure.
8. Press the module in and down towards the mainboard until the slot levers
click into place to secure the module.
9. Replace the memory socket cover and the 4 screws (see Figure 6 - 4).
10. Restart the computer to allow the BIOS will register the new memory
configuration as it starts up.
6 - 8 Upgrading the System Memory (RAM)