1
SECTION 4: CONFIGURING THE DVRM6
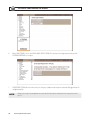
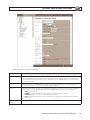
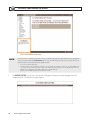
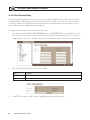
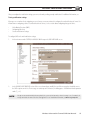
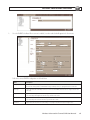
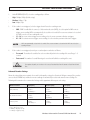
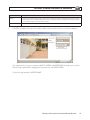
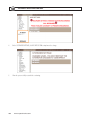
Changes to brightness, contrast, and saturation are implemented when UPDATE is clicked. Click SAVE to retain them after the
unit restarts.
3.
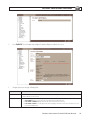
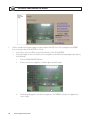
If the camera has PTZ features, check the ENABLED box for PTZ, then follow the instructions provided.
4.
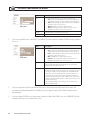
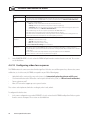
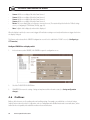
Under AUDIO, select one of the following:
——
——
——
None: Do not link audio to the video from this camera.
Channel 1: Link the audio from the microphone connected to Audio In1 (Ain1) to the video from this camera.
Channel 2: Link the audio from the microphone connected to Audio In2 (Ain2) to the video from this camera.
If you selected None, skip to step 6.
5.
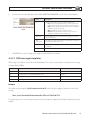
If you selected either Channel 1 or Channel 2, audio from the selected microphone is provided when you view live video in a
client application. Also, the fields required to configure audio recording with video recording are added to the screen, and a
message appears confirming that audio recording is enabled.
a.
If you do not want audio from the AUDIO INPUT CHANNEL to be combined with video when recording, clear the AUDIO
RECORDING ENABLED checkbox.
Currently the DVRM6 supports only MEDIUM audio quality.
6.
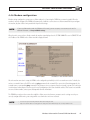
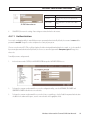
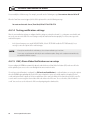
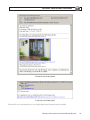
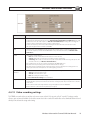
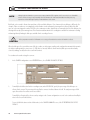
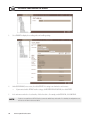
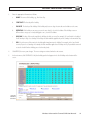
To use the DVRM6 VMD features to detect and respond to motion in the camera’s field of view, click the check the ENABLED
box for MOTION DETECTION (VMD). Then follow the instructions below.
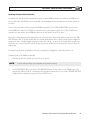
NOTE
For PTZ-controlled cameras, each change of the camera position is interpreted by the VMD system as an event.
7.
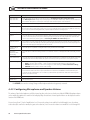
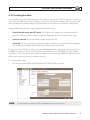
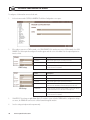
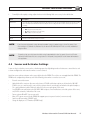
Configure the DVRM6 response to interruptions in the video signal from the camera as described below (see Configuring
video lost).
8.
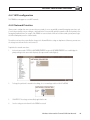
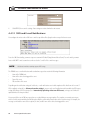
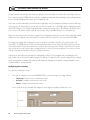
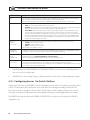
Configure the camera recorder as described below (Video recording settings).
9.
Click UPDATE. Changes to brightness, contrast, and saturation are implemented immediately. SAVE the settings, then restart
the DVRM6 to retain the settings.
66
www.supercircuits.com