1
38
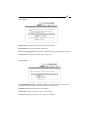
b. Do you wish to change the printer description file /etc/printcap (y/n) [n] ? ----> y
c. Enter information for remote printers or local printers accepting remote printing
requests:
Please enter the printer name (q to quit): --->printer-1
You can enter a printer name you like in this option.
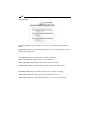
d. Is xxxx a remote printer or a local printer (r/l) ---------> r
e. Please enter the name of the remote host that xxxx is attached to: ---------> (the Print
server’s IP address you specified in Step 2, for example, 192.72.214.103)
Note: You can add the host name associated with the IP address in the /etc/hosts file.
If you have done this, please use the host name instead of the IP address.
f. Printer xxxx is connected to host 192.72.214.103
Is this correct? (y/n) ---------> y
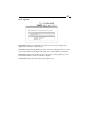
g. You will see some messages, then the following question will appear:
If you’re not sure, answer “n”? (y/n) [n] --------> n
h. Would you like this to be the system default printer? (y/n) [n]------->Choose
whether you want this printer to be your default printer.
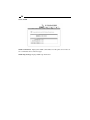
i. Do you want to install or remove printing (i/r/q)? [q] : -------> q
j. Do you want to star remote daemon now (y/n) --------> y
11. Submit print jobs by using “lp” or “lpr” command.
For example: lp -d printer-1 /etc/printcap
SUN Solaris 2.x
1. Login root
2. Type “arp -s <IP address> < Print server‘s node ID>”
The node ID can be found from the white label on the backside of the Print Server.
For example: arp -s 192.72.214.103 00-40-01-05-01-8c
3. Type “ping < Print server‘s IP address>”
For example: ping 192.72.214.103
(You should get the responses from the Print Server).
4. Type “tftp < Print server‘s IP address>”
For example: tftp 192.72.214.103