1
11
Diagnostic Mode
If you don’t have a Wireless Access Point on your network or the print server cannot be
discovered in Infrastructure mode, try using diagnostic mode.
Note: If you have already installed the print server software, you can use the PSAdmin
software to configure your wireless settings instead of the Installation software. See
“Using the PSAdmin Software” on page 12 for details on changing your wireless
settings.
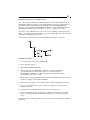
1. Set the dip switch on your print server to Diagnostic.
2. Make sure that the TCP/IP protocol is installed on your computer and you have
assigned an IP address to your wireless adapter.
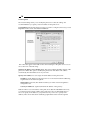
3. Using the instructions provided by your wireless adapter manufacturer, run the
configuration utility for your wireless adapter and change it to Ad-hoc or Peer to
Peer mode. Set the wireless adapter’s SSID to WLAN-PS and the Channel to 6. Make
sure WEP is disabled. Check with your wireless adapter manufacturer if you
encounter any problems with this step.
4. After a wireless connection has been established, insert the print server driver disk
into your disk drive.
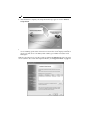
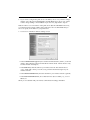
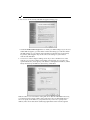
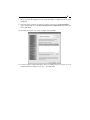
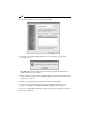
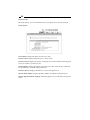
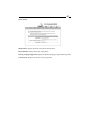
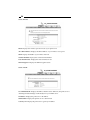
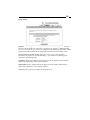
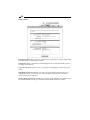
5. Run the Wireless Setup Wizard and refer to the Software Installation steps 2 to 8 (see
previous pages) to configure your wireless print server.
6. Switch the dip switch on the printer back to Normal mode and adjust your wireless
adapter configuration.
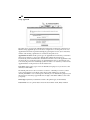
7. Follow Software Installation steps 9 to 16 (see previous pages) to complete the printer
installation.