1
Pegasus-E_Setup_Eng.book 37 ページ 2004年8月19日 木曜日 午後3時46分
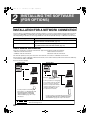
SETUP IN A MACINTOSH ENVIRONMENT
MAC OS X v10.1.5
1
Make sure that the machine is
powered on.
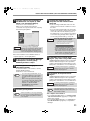
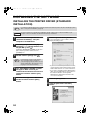
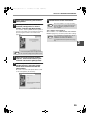
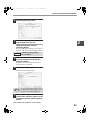
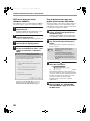
2
Select [Applications] from the [Go]
menu.
3
Double-click the [Utilities] folder.
4
Double-click the [Print Center] icon
( ).
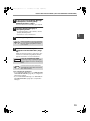
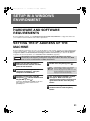
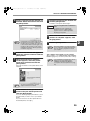
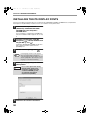
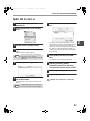
7
Click the machine's model name in the
list.
The name of the machine that appears is the
name that was entered in the AppleTalk settings
when the network settings were configured.
Unless the name was changed when configuring
the settings, it will be [SCxxxxxx] ("xxxxxx" is a
sequence of characters that varies depending on
your machine).
The "Printer List" window appears.
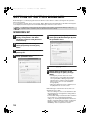
Note
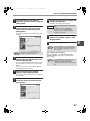
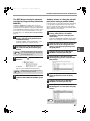
5
6
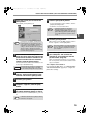
If this is the first time you are installing a
printer driver on your computer, a
confirmation message will appear. Click the
[Add] button.
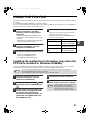
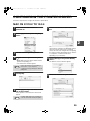
Click the [Add Printer] button.
Select [AppleTalk] in the menu at the
top of the window.
A list of printers connected to the network will
appear.
Note
8
Click the [Printer Model] menu and
select [Other] from the list of PPD
files.
The PPD file selection window will appear.
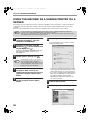
9
Click the startup disk name and then
[Library], [Printers], [PPDs],
[Contents], [Resources], [en.lproj],
and select the PPD file of your model.
10
Click the [Choose] button.
11
Click the [Add] button.
This completes the configuration of the printer
driver.
If multiple AppleTalk zones are displayed,
select the zone which includes the printer.
37
2


![2 Fare clic sul pulsante [start]](http://vs1.manualzilla.com/store/data/006118559_1-173242b46b2c9da737019e0375b2825a-150x150.png)