1
allbook.book
Page 7
Wednesday, May 28, 2003
12:53 PM
Setting the IP Address
5
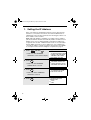
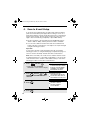
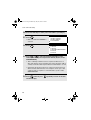
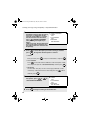
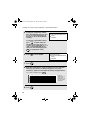
If the machine will receive an IP address automatically from a
DHCP server, make sure that “YES” is selected (this will enable
DHCP).
If the machine will be assigned a permanent IP address, press
or
to select “NO”.
6
Press
START/
ENTER
.
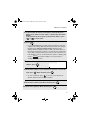
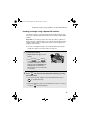
• If you enabled DHCP by selecting “YES” in the previous step, this
completes the setting. Wait while the machine writes the setting to
the NIC board (“DO NOT POWER DOWN” will appear in the
display). When the display changes to “OK”, turn off the power of
the machine and then turn it back on to make the new setting take
effect. (Before turning off the power, make sure the machine is not
in the middle of a job: 1) check whether the machine is printing, and
JOB STATUS
and check the display to see if the machine is
2) press
sending or receiving a fax.)
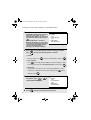
7
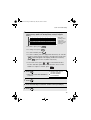
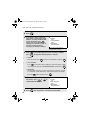
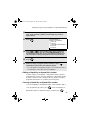
If you are entering a permanent IP
address, press
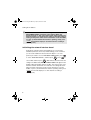
8
START/
ENTER
IP ADDRESS
[ ] [ ] [ ][ ]
.
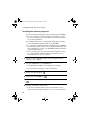
Enter the IP address of your machine (to move the cursor to the
right, press
). When finished, press
• To correct a mistake, press
START/
ENTER
.
to move the cursor back to the
mistake, and then enter the correct number.
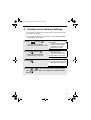
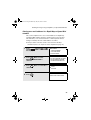
9
10
START/
ENTER
Enter the IP subnet mask. When finished, press
Enter the IP gateway. When finished, press
START/
ENTER
.
.
7