1
DASP-52096 Card User’s Manual
2.5 Quick Setup and Test
To install a new DASP-52096 into an IBM PC compatible computer, at
first, power-off the PC and open its chassis, then plug the
DASP-52096 into a PCI slot of mother-board of the PC. The
DASP-52096 is a plug and play device for MS Windows, and the OS
will detect your DASP-52096 after you power on the PC. The detail of
driver and software installation is described in software manual of
DASP-52096.
After the hardware and software installation, user can emulate and
test DASP-52096 step by step as follows.
Step 1
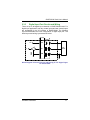
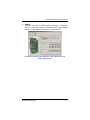
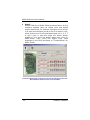
To perform a complete test of DASP-52096, we can route
the output channels to the input channels of DASP-52096
directly for read-back, for instance, configure chip 0 port
A as output channels and configure chip 0 port B as input
channels. And then, by following the DASP-52096 test
branch of the ToolWorkShop which will fully test all the
digital I/O channels of the DASP-52096 as descried in the
following paragraphs.
Step 2
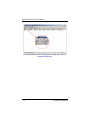
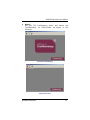
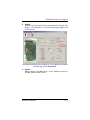
Launch the ‘PCI Configuration Utility’ of DASP-52000
series to ensure that the resource of DASP-52096 is
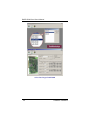
properly dispatched by the OS. Press the scan button in
the toolbar of the ‘PCI Configuration Utility’ to find the
installed DASP-52096, and then check the resource list
as show in following figure.
Hardware Installation
17