1
Section 6: Setting Up the Console
Wholehog III lighting systems can be quite complex, with multiple consoles, DMX
Processors and other devices networked together. This tutorial uses a basic system of
one console and one DP2000 DMX Processor.
6.1
Connecting and Turning On the System
1.
Connect the DMX Processor using a Category 5 cross-over cable, supplied with the console. An ordinary (non-crossover) cable won't work.
2.
If you wish, connect an external keyboard, mouse, and displays. Adding
a mouse frees up the console's Trackball for positioning fixtures.
3.
Connect the DMX Processor and the Wholehog III console to mains
power, and turn on. You can connect the Wholehog III to any mains
supply between 100 and 240V AC.
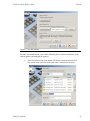
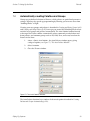
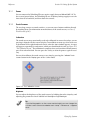
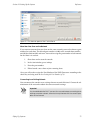
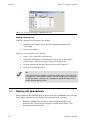
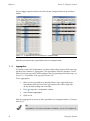
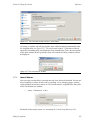
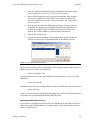
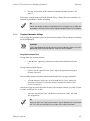
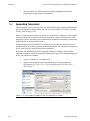
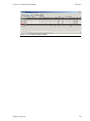
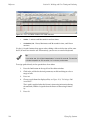
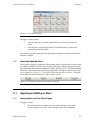
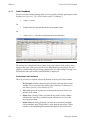
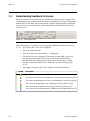
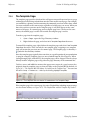
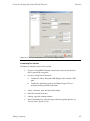
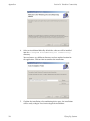
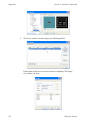
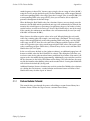
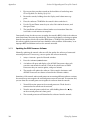
After a few moments the Wholehog III Startup window will appear:
Figure 6.1. The Startup Screen
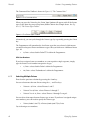
The DMX Processor's LCD screen will change status from Connecting - No Server to Idle
- Show Server: 127.0.0.1@6600. The LCD screen will remain like this until you have patched
fixtures and DMX is being outputted, when the DMX Processor's status will change to
Running.
Flying Pig Systems
27