1
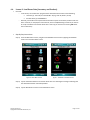
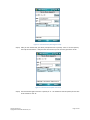
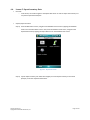
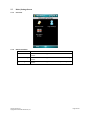
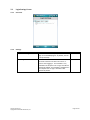
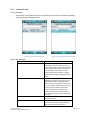
Figure 15 - Scan Item Screen (After Second Count)
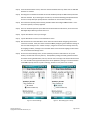
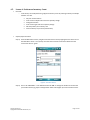
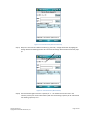
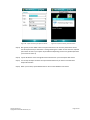
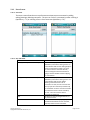
Step 7) Now, let’s scan items at a different location (e.g. AA-1-1B). Change the location by tapping the
Change button and selecting location AA-1-1B from the Change Stock Location screen that popsup.
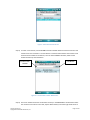
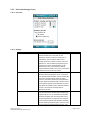
Figure 16 - Scan Item Screen (New Location)
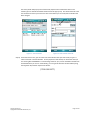
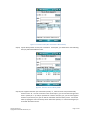
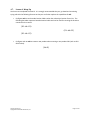
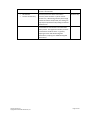
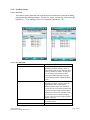
Step 8) Scan the barcode again and enter a quantity of “7”. You should now see two rows in the
inventory screen (one row for each location) with one row showing a quantity of “8” and another
row showing a quantity of “7”.
mPI User Guide V1.8
Copyright © 2012 Mobile ID Solutions, Inc
Page 16 of 50