1
Introduction
3
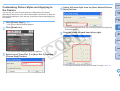
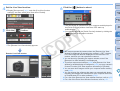
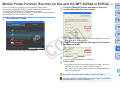
Open the folder containing the saved white balance
file, select the file and then click the [Open] button.
¿ The white balance file is loaded.
O The white balance files that you can register to the camera are
files with the “.WBD” extension.
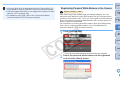
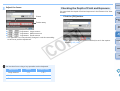
4 Enter a title into the [Title] input field.
5 Click the [Apply to camera] button.
¿ The personal white balance is registered on the camera.
O This is registered as manual white balance on the 40D
O To register another setting, repeat step 2 to step 5.
Setting JPEG Quality and Applying to the Camera
1Ds Mk III
1D Mk III
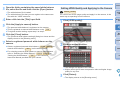
You can set the JPEG image quality and apply it to the camera, in the
same way as operating from the camera.
1
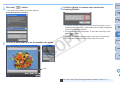
Click [JPEG quality].
Contents at
a Glance
1
2
3
4
Downloading
Images
Camera
Settings
.
6
Click the [Close] button.
7
Select a registered personal white balance on the
camera.
Remote
Shooting
¿ The [Personal white balance settings] dialog box closes and the
display returns to the [Shooting menu].
O Select a registered personal white balance ( 1Ds Mk III 1D Mk III ) or
manual white balance ( 40D ) as the white balance.
O For selecting personal white balance or manual white balance,
refer to “Selecting the White Balance” ( 1Ds Mk III 1D Mk III ) or
“Setting the White Balance” ( 40D ) in the camera’s
Instruction Manual provided with your camera.
¿ The [JPEG quality] window appears.
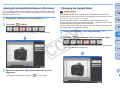
2 Click the setting position.
Preferences
Reference
Index
¿ The settings are applied to the camera.
O Higher values give a lower compression ratio and higher image
quality for any size.
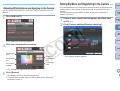
3 Click [Return].
¿ The display returns to the [Shooting menu].
20