1
Digital Video Recorder CMS User Manual
v.
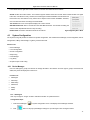
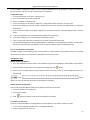
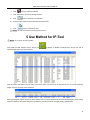
Click ‘Confirm’ button to add E-Map in Control Center.
Add Sibling Nodes
User can add E-Maps under the same parent map as Sibling.
Configuration Steps
i.
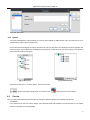
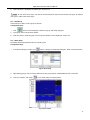
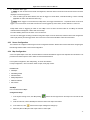
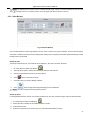
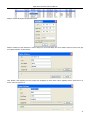
In the ‘Map config’ interface, right-click on an existing map.
ii.
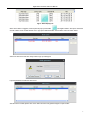
Select ‘Add Sibling Node’ and then a dialogue of ‘Add Map’ will pop up.
iii.
Input name of the map.
iv.
v.
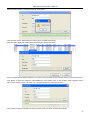
button and the ‘Open’ dialogue will pop up.
In the ‘Path’ box, click
Select the path to save the E-Map and click ‘Open’ button to confirm the path.
vi.
Click ‘Confirm’ button to add map in the map control center successfully.
Add Sub Nodes
A sub node can be added to an existing E-Map.
Configuration Steps
i.
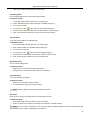
In the ‘Map Config’ interface, right click on an existing map.
ii.
Select ‘Add Son Node’ and ‘Add Map’ dialogue will pop up.
iii.
Input the name of the map.
iv.
In the ‘path’ box, click
v.
Select the path to save E-Map and click ‘Open’ button to confirm the path.
vi.
Click ‘Confirm’ button to add map in the map Control Center.
button and ‘Open’ dialogue will pop up.
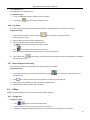
Modify Map Names
User can modify E-Map names.
Configuration Steps
i.
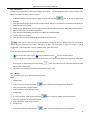
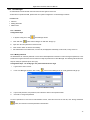
Right click on a map and select ‘Modify Node Name’.
ii.
Modify the name of the map and click to save the modifications.
Delete Sub Nodes
A user can also delete Sub Nodes
Configuration Steps
i.
Right click on an E-Map and select ‘Delete’.
ii.
A confirmation box will pop up. Confirm to delete.
Notice: Deleting a Map would automatically delete all sub nodes.
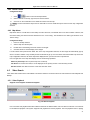
Set camera
Users can set a camera in the E-Map as per the actual map of the area.
Configuration Steps
i.
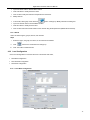
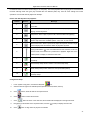
In the ‘Map Config’ interface, select the map to add camera.
ii.
Select a camera from the device list and drag it to the E-Map on a suitable location.
Notice: Once the setup is complete, the user can enter into the E-Map interface to watch live pictures and map
alarm (Please refer to Chapter 4.4 E-Map for more details).
18