1
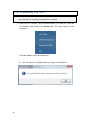
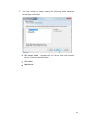
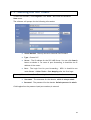
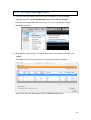
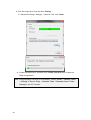
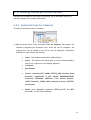
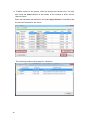
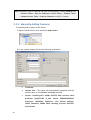
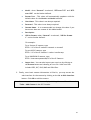
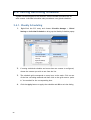
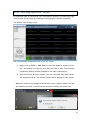
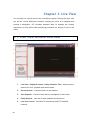
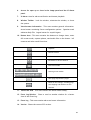
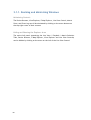
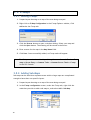
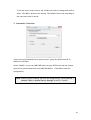
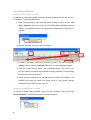
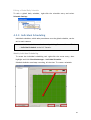
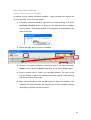
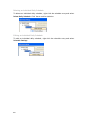
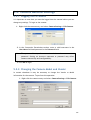
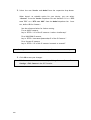
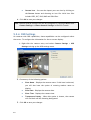
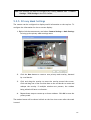
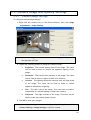
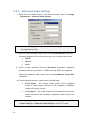
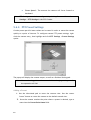
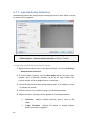
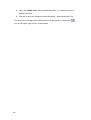
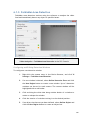
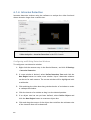
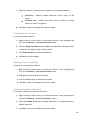
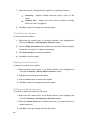
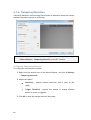
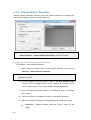
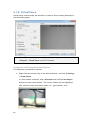
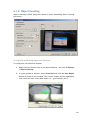
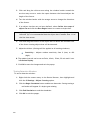
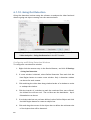
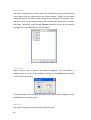
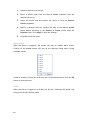
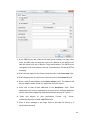
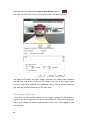
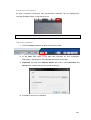
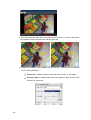
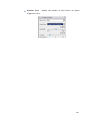
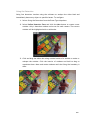
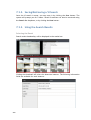
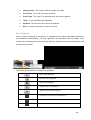
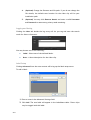
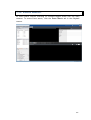
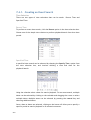
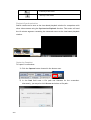
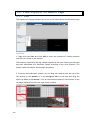
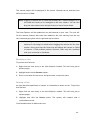
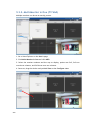
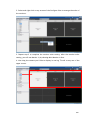
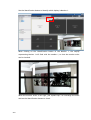
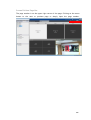
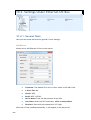
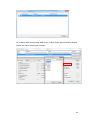
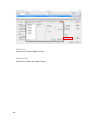
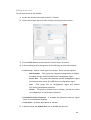
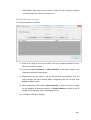
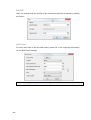
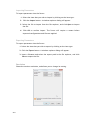
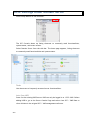
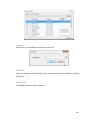
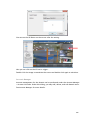
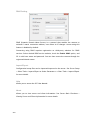
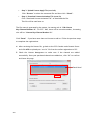
2. Click and drag the white arrows along the window border around the one/two-way arrow to resize the space between the fences/adjust the length of the fences. 3. Turn the window border with the orange arrow to change the directions of the fences. 4. If an object size has not yet been defined, select Define Object and click the New Region button to create an object box. 5. Click and drag the corners of the object box to define the minimum size of the fence-crossing objects that will be detected. 6. Adjust the sliders: (Settings will be applied to all existing windows) Sensitivity – Adjusts window sensitivity from 0 (low) to 100 (high). Duration (Sec) - Adjusts how much time between each check for the fence-crossing. 7. Click OK to save the changes and exit the popup. Testing Detection Windows To test a detection window: 1. Right-click the camera entry in the Device Browser, then highlight and click the VI Settings > Virtual Fence option. 2. Click the Begin Simulation button enable test detection. During testing a red border will appear if a object goes missing. 3. Click End Simulation to end the simulation. 4. Click OK to exit the popup. Deleting a Detection Window To delete a new detection window: 1. Right-click the camera entry in the Device Browser, then highlight and click the VI Settings > Virtual Fence option. 2. Highlight an existing detection window. 3. Click the Clear button to delete the window. 143