1
Windows XP Information
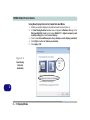
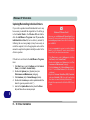
Recording Audio
(Model A & B Computers)
The
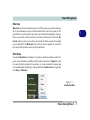
audio record hot key button allows you to record audio from either the built-in microphone, or from a
microphone connected to the microphone-in jack. To record on the computer, setup the audio recording options
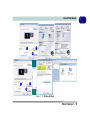
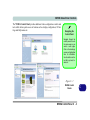
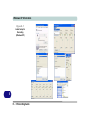
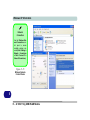
in Windows as follows (see Figure E - 5 on page E - 8).
1.
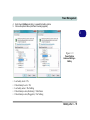
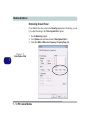
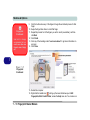
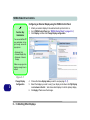
Go to the Start menu and point to Settings (or just click Control Panel) and click Control Panel, then doubleclick the Sounds & Audio Devices icon (Sounds, Speech, and Audio Devices in Category View).
2. Click Advanced in the Volume > Device volume tab.
3. Click Options and scroll down and click Properties.
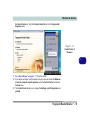
4. Select HD Audio rear input (for a microphone plugged in to the microphone-in jack)/HD Audio Front Mic (for
the built-in microphone) from the Mixer device menu and click OK (make sure there is a tick in the Microphone
tick box).
5. Click Recording (button) and click OK.
6. Boost the volume in the Microphone section as high as it will go (make sure there is a tick in the Select tick box
if you have selected HD Audio rear input).
7. Close the open windows.
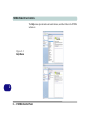
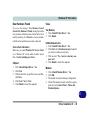
8. You can also boost the microphone from the Mixer in the VIA Audio Deck
menu (see page E - 9).
9. Press the audio record button
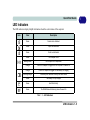
to begin the recording process (the record icon
will flash in the top left of
the screen).
10. Press the
audio record button again to stop the recording process (the record icon will disappear from the
top left of the screen).
11. The recorded audio file (in .wav format) will appear in the Shared Documents > Wav folder in My Computer.
12. Double-click the file to playback the recorded audio.
Recording Audio E - 7
E