1
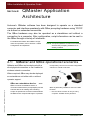
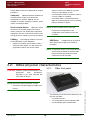
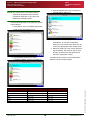
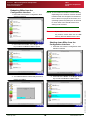
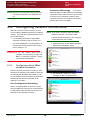
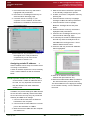
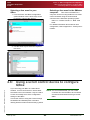
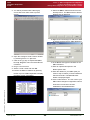
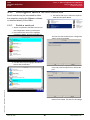
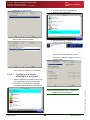
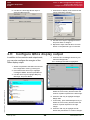
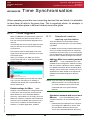
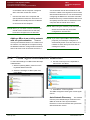
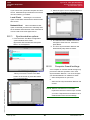
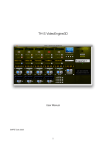
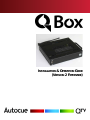
QBox
Installation & Operation
Guide
QBox (v2 API) Quick Reference Card
Components
1:
A standard QBox unit is supplied with:
• A 12-volt power supply unit with a 4-pin XLR
connector
• Any scroll control devices that you have
ordered
• An Ethernet cable and a crossover adaptor
plug.
Select F 8 to open the Configuration interface.
Select N e t w o r k C o n f i g u r a t i o n
Select l a n 0 and then set the necessary
parameters.
Press E n t e r to restart the network interface.
Click the required buttons to return to prompt
mode.
Connections
Plug all required connections before switching
your QBox on.
Attach BNC cables to the required number of
video outputs.
Attach the appropriate network cable
Insert the 4-pin XLR power connection into the
XLTR socket on the back of the unit.
Plug an IEC power cable into the 12-volt power
supply.
The QBox will automatically start.
2:
Wireless connection (Optional)
Select F 8 to open the Configuration interface.
Select N e t w o r k C o n f i g u r a t i o n
Select w l a n 0 and then set the necessary
parameters.
Press E n t e r to restart the network interface.
Click the required buttons to return to prompt
mode.
Operation
1:
Network connection
Starting QBox
Press the main power button on the front of the
unit. (If the unit does not automatically start
when power is supplied.)
2:
Stopping QBox
Press F 8 to access the configuration interface
and select S h u t d o w n Q B o x a n d p o w e r o f f
(In an emergency, press and hold the main
power button for four or more seconds.)
Configuration of your QBox requires a standard
keyboard be attached to the unit.
Issue #: 081212
©2003-2008 Autocue Group Ltd
Configuration
www.qtv.com
v
www.autocue.com