1
ACG+
User Manual
6.1.6 Running the software
To run the ACG+ software, select the program from the Windows® start menu, Analox folder. When the
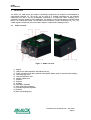
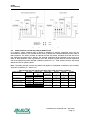
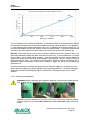
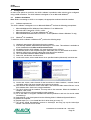
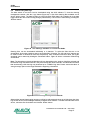
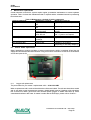
software runs without a device connected, the window shown in Figure 41 will be displayed.
Figure 41 - ACG+ software without device connected
6.2 Making a connection
Note: The ACG+ software uses Microsoft ActiveSync® to communicate with an ACG+. Before
connecting to an ACG+, ensure that any other windows mobile devices or devices which make use of
ActiveSync® are disconnected from the computer.
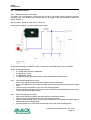
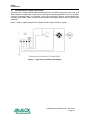
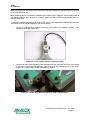
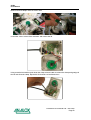
Always connect only one ACG+ to the computer at a time. To connect an ACG+ to the computer, first
open the hinged front door of the ACG+ device by loosening the four corner screws. Locate the ACG+
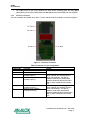
display module which is mounted to the inside of the ACG+ hinged front door. Connect one end of the
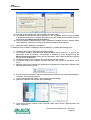
USB cable provided to the right hand USB port (labelled ‘PC’) on the rear panel and connect the other
end of the cable to a free USB port on the computer. Power the ACG+ device and allow it to start up.
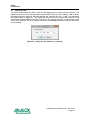
Figure 42 - Connecting a USB cable to an ACG+
Once connected and powered, Windows® should detect the device and display an information bubble
confirming the connection. On the first time connecting an ACG+ to the computer, message bubbles
may be shown explaining that device drivers are being installed. This should take a few moments.
When the device connects, on Windows XP® systems, the ActiveSync® window will pop up. This window
should be closed. On Windows 7® systems, the Windows Mobile Device Center window will be shown.
This window should be closed.
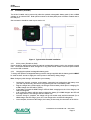
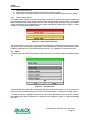
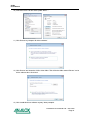
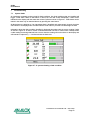
If not already open, run the ACG+ software. The ACG+ software will recognise the device and read the
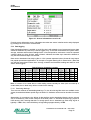
current settings form the device. Once fully connected the window shown in Figure 43 will be displayed.
6.2.1 Connection troubleshooting
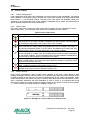
If the ACG+ fails to connect, see section 7.1.4 Connection troubleshooting
Document ref: P0149-801-04 - June 2014
Page 49