1
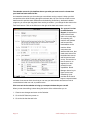
The mini timesheet
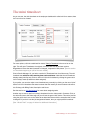
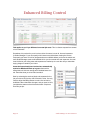
As you can see, the mini timesheet on the employee dashboard is called mini for a reason; there
isn’t room for a lot of detail.
For more options, click the underlined link button Today’s Timesheet in the menu bar on the
right. This will open Timesheets, the original, full-width view with all pertinent options.
Regardless of where the data is entered or changed, it appears in both places. [See the section
on Timesheets beginning on p56 of the user manual.]
Prior to Studio Manager 10, you had to use the full Timesheets form for all time entry. The mini
timesheet was added to make entering time easier and faster. Note that the mini timesheet
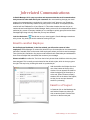
displays today’s entries only. Enter a new line in the mini timesheet by clicking the green clock
icon in today’s tasks (if tasks have been assigned).
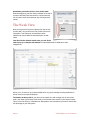
If you prefer, you can also make a new timesheet entry manually by clicking on the round “plus”
button in the mini timesheet. Be aware however that this means you have to select and enter a
Job ID along with Billing Code, Description and Hours.
See the section on Job Assignments for more about assigning tasks.
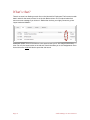
Another way to enter a new line in today’s timesheet from the Jobs portal in Contacts. Click on
the Jobs tab (next to the Tasks tab) and you will see the green clock button. This works just like
using the green clock icon on the Tasks tab as described above with the exception that no task
is assigned. If you don’t use the job assignments feature, then you might prefer this method.
[See “What’s That?” on page 21 below for additional information.]
Page 7
Studio Manager 10 New Features