1
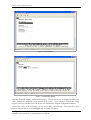
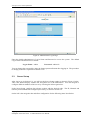
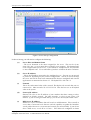
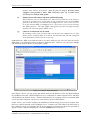
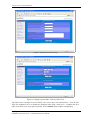
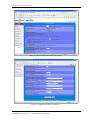
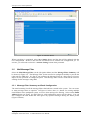
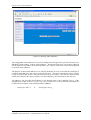
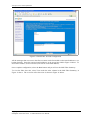
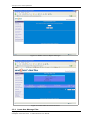
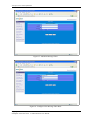
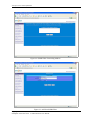
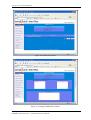
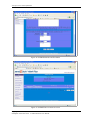
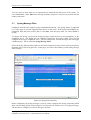
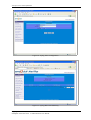
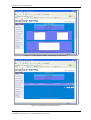
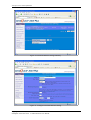
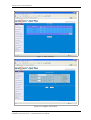
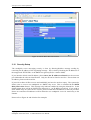
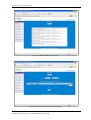
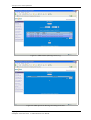
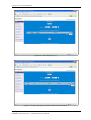
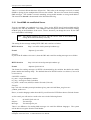
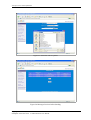
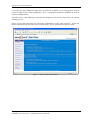
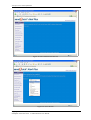
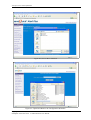
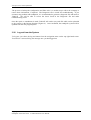
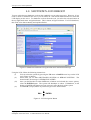
Strictly Private and Confidential Figure 2: Set IP address Figure 3: Confirm IP address Insert the desired IP address, Netmask and Gateway. Use the arrow keys to navigate and insert the value. Follow the instruction at the bottom of the screen. Once complete, activate the setting (Figure 3) and you can then access the system via web browser using the configured IP address. Connect the server to the LAN and you can access using a web browser. Enter the IP on your browser and you will see a second Log-in page as shown in Figure 4. Copyright2002-2006, TalariaX Pte Ltd SendQuick Alert Plus Server 1.5 Administration User Manual 7