1
Data registration
133
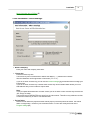
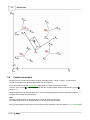
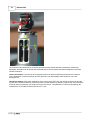
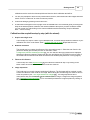
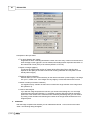
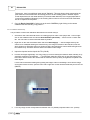
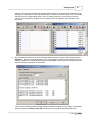
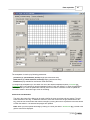
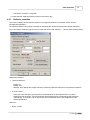
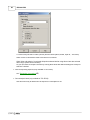
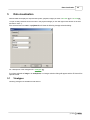
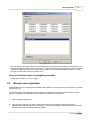
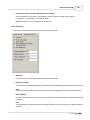
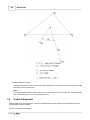
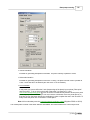
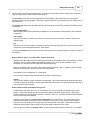
To display the a small sphere at the center of rotation select the option "Show rotation center in view".
6.
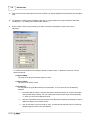
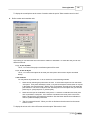
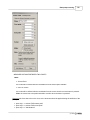
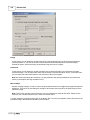
Define rotation and translation axis:
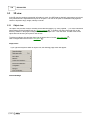
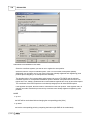
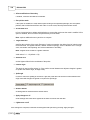
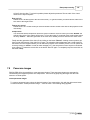
At this step you can define the axis to be used for rotation or translation. To define the axis you can use
different methods:
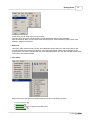
· X, Y, Z axis of PRCS
The X, Y or Z axis of the project coordinate system will be used.
· X, Y, Z axis of object
The X, Y or Z axis of the object will be used (see also option "Show axes of object" described
below).
· User defined:
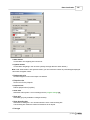
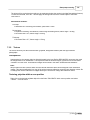
You may define any desired axis. To do so select one of the following methods:
1.
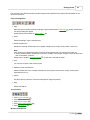
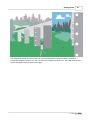
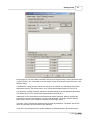
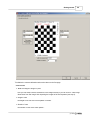
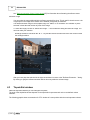
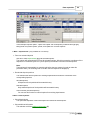
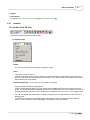
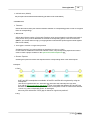
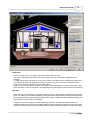
Define axis by selecting two points from the view. To select the first point click on the button
"First point". Then press and hold the "SHIFT" key and click with the mouse button on a point
in the object view (see also step 7: Mode). Click on the button "Second point" and repeat the
point selection. You select "First point" and "Second point" from the object view you can also
press keys "2" (first point) and "3" (second point).
2.
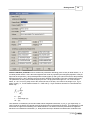
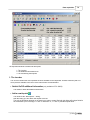
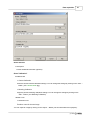
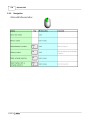
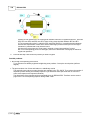
Define axis via input of coordinates of two points. To enter the coordinates of the first point
click on the button "First point". Then enter the coordinates of the first point. Click on the
button "Second point" and repeat the procedure. Use the button beside the coordinates in
order to update the display of the axis.
3.
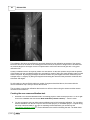
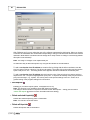
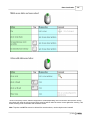
"Get from camera direction". When you click on this button the axis normal to the screen
surface is used.
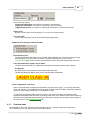
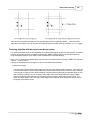
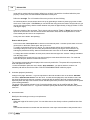
To display the axis as a line in the 3D-scene select the option "Show axis in view".
(c) 2005