1
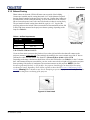
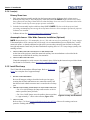
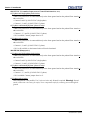
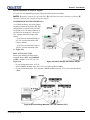
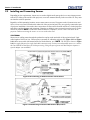
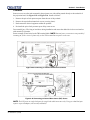
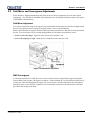
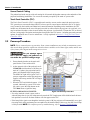
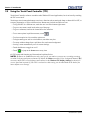
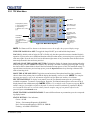
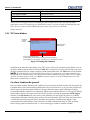
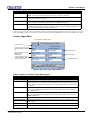
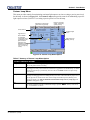
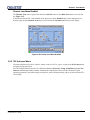
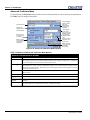
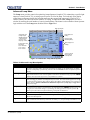
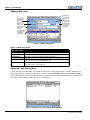
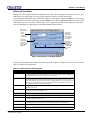
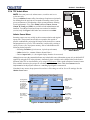
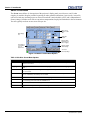
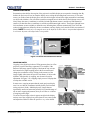
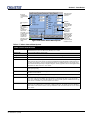
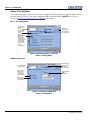
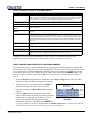
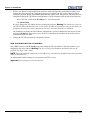
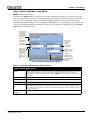
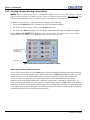
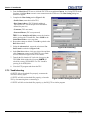
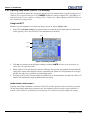
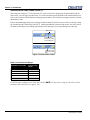
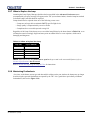
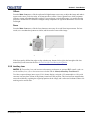
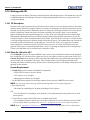
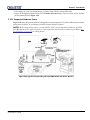
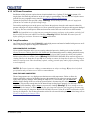
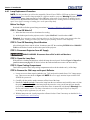
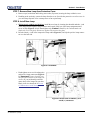
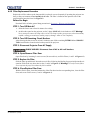
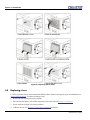
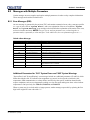
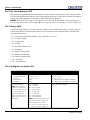
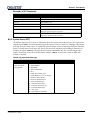
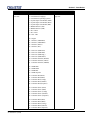
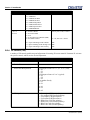
Section 1: Introduction STEP 6 - Define the Lamp Type At the TPC, go to the Advanced: Lamp menu (password required). Enter the size of the lamp currently installed in the projector (default is 2.0 kW). STEP 7 - Ignite the Lamp At the main menu of the TPC, press the LAMP button 2.6 . The lamp should ignite. Maximizing Light Output Upon powering up the projector with a newly-installed/replaced lamp, activate LampLOC to automatically adjusts the lamp position to help ensure optimized operation as well as peak brightness at the screen. You do not need an image displayed yet. Once you have done this LampLOC adjustment, the lamp will be wellcentered and distanced correctly from the remainder of the illumination system. At the TPC, automatically optimize lamp position by pressing the Do Auto button in the Advanced: Lamp menu. Watch the gauge on this menu. After 2-3 minutes, the best lamp position will be established (using an internal light sensor) and the Do Auto button will no longer be disabled. At this point, light output is optimized. Optimize lamp position and light output. Figure 2-34 Align the Lamp NOTE: Lamp must be on and douser (shutter) open during LampLOC™ adjustment. However, the projector does not need to be displaying an image. 2.6.1 Calibrating Screen Brightness (fL) In order for the TPC to display screen brightness in footlamberts (fL), you must measure screen brightness at both extremes of lamp power (minimum and maximum) for a given lamp type, and record these two readings in the TPC Admin: Lamp menu available to installers. These measurements establish a range (stored in memory) from which the TPC can interpolate all other lamp power settings, converting them to approximate footlamberts for display in the menus. Repeat the calibration if you ever switch to a different lamp type/size. NOTE: For more information about menus and footlamberts, refer to Section 3 Operation. 2-22 CP2000-SB User Manual 020-100162-06 Rev. 1 (03-2014)