1
AllSync Master Installation &
Operation Manual
Programming
Programming
Troubleshooting
Appendix
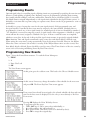
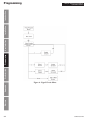
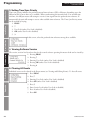
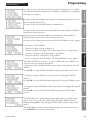
1. Use the < > keys to change the start week.
Press OK to accept the displayed start week. A start day appears.
2.
3. Use the < > keys to change the start day.
4.Press OK to accept the displayed start day. A start month appears.
5. Use the < > keys to change the start month.
6.Press OK to accept the displayed start month. A bias value appears. This indicates the hours and minutes to advance the time on the DST start date when the time change occurs. For example, a bias of +02:00 causes the time change to advance 2 hours (and no minutes) on the start date.
7. Enter the bias hour and minute.
8.Press > for +.
9.Press OK to accept the displayed bias. The End of DST screen appears.
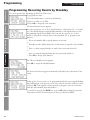
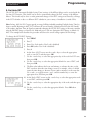
10.Use the < > keys to change the end week.
11.Press OK to accept the displayed end week. An end day appears.
12.Use the < > keys to change the end day.
Press OK to accept the displayed end day. An end month appears.
13.
14.Use the < > keys to change the end month.
15.Press OK to accept the displayed end month.
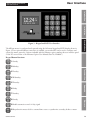
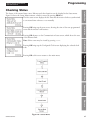
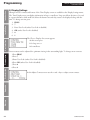
After daylight saving time is defined the Choose Mode screen appears:
User Interface
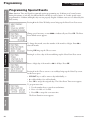
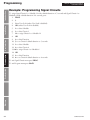
Pressing 2 at the Define DST screen displays the Start of DST screen:
Installation
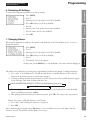
4.Press OK to accept the displayed start date. An end month appears.
5. Use the < > keys to change the end month.
6.Press OK to accept the displayed end month. An end date appears.
7. Use the < > keys to change the end date.
8.Press OK to accept the displayed end date.
9. A bias value appears. This indicates the hours and minutes to advance the time on the DST start date when the time change occurs. For example, a bias of +01:00 causes the time change to advance 1 hour (and no minutes) on the start date.
10.Enter the bias hour and minute.
11.Press > for +.
12.Press OK to accept the displayed bias.
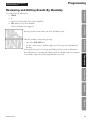
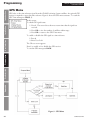
Select the time display format by pressing 1 for 12-hour or 2 for 24-hour time display.
Glossary
© American Time
19