1
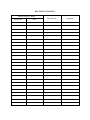
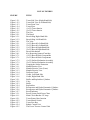
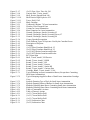
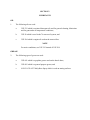
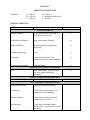
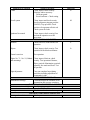
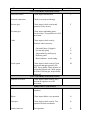
LIST OF FIGURES
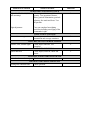
FIGURE
TITLE
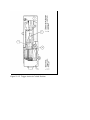
Figure 1-2-1
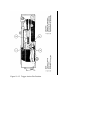
Figure 1-2-2
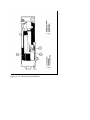
Figure 1-2-3
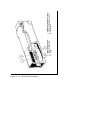
Figure 1-2-4
Figure 1-2-5
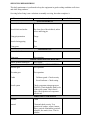
Figure 1-2-5
Figure 2-1-1
Figure 2-2-1
Figure 2-3-1
Figure 2-3-2
Figure 2-4-1
Figure 2-5-1
Figure 2-5-1
Figure 2-5-2
Figure 2-5-2
Figure 2-5-3
Figure 2-6-1
Figure 2-7-1
Figure 2-7-1
Figure 2-7-2
Figure 2-7-2
Figure 2-9-1
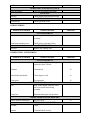
Figure 3-1-1
Figure 3-1-2
Figure 3-1-3
Figure 3-1-4
Figure 3-1-5
Figure 3-1-6
Figure 3-2-1
Figure 3-2-2
Figure 3-2-3
Figure 3-2-4
Figure 3-2-5
Figure 3-2-6
Figure 3-2-7
Figure 3-3-1
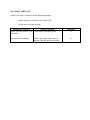
Figure 4-1-1
Figure 4-2-1
Figure 4-2-2
Figure 4-2-3
Figure 4-2-4
Figure 4-2-5
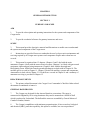
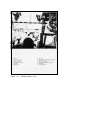
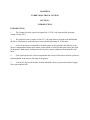
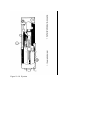
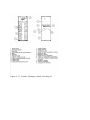
Turret Side View (Right-Hand Side)
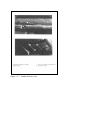
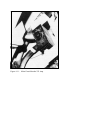
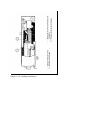
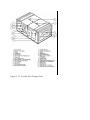
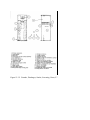
Turret Side View (Left-Hand Side)
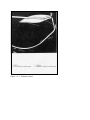
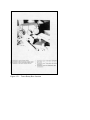
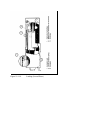
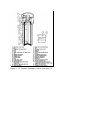
Turret Front View
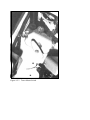
Turret Floor
(1 of 2) Turret Interior
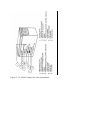
(2 of 2) Turret Interior
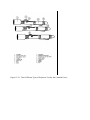
The Gun
The Barrel
Breech Ring Right-Hand Side
Breech Ring Left-Hand Side
The Yoke
(1 of 2) Breech Left-Hand Side
(2 of 2) Breech Left-Hand Side
(1 of 2) Breech Right-Hand Side
(2 of 2) Breech Right-Hand Side
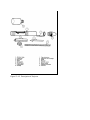
Breech Mechanism
Key Removing Jammed Cartridge
(1 of 2) Breech Block Components
(2 of 2) Breech Block Components
(1 of 2) Striker Mechanism Assembly
(2 of 2) Striker Mechanism Assembly
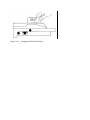
Gauging the Striker Protrusion
Mantlet Interior View
Mantlet Exterior View (Front)
Mantlet Exterior View
Deflector Guard
Cradle, Left-Hand Side
Cradle, Right-Hand Side
Buffer and Replenisher Cylinders
Yoke
Buffer
Replenisher
Recuperator and Hydro-Pneumatic Cylinders
Recuperator and Hydro-Pneumatic Cylinders
Recoil Indicator
Recoil System Fault/Cause Chart
Main Circuit Breaker 225 Amp
Turret Rotary Base Junction
Turret Master Switch
Turret Fuse Box
Radnis Control Unit
The Power Traverse Control Unit