1
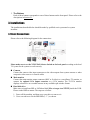
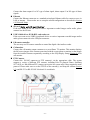
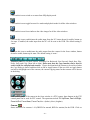
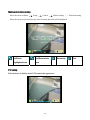
1. The Buttons Each of these buttons corresponds to one of those buttons on the front panel. Please refer to the descriptions in Section 2.1. 3. Installations The installations described below should be made by qualified service personnel or system installers. 3.1 Basic Connections Please refer to the following diagram for the connections. Please make sure to set the NTSC/PAL Selector Switch on the back panel according to the local TV system for the system to work correctly. Cameras Connect the camera video input connectors to the video outputs from system cameras or other composite video sources via coaxial cables. Main monitor Connect the main monitor output connector (BNC or S-video) to a surveillance TV monitor, or connect the optional VGA output connector to a VGA monitor. The TV/VGA monitor displays selected live or recorded cameras in any available split window format. Hard disk drive Make sure to install one IDE or SATA hard disk (Max. storage size 500GB) inside the DVR. Please set the HDD as master. The steps are as below: 1. Power off the machine, and then use a screwdriver to uncover it. 2. Use a screwdriver to fix the IDE HDD (3.5") as shown. - 11 -