1
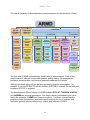
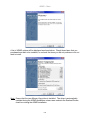
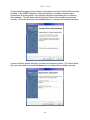
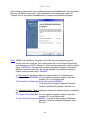
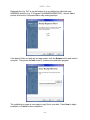
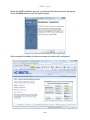
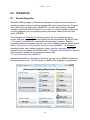
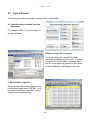
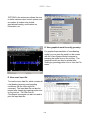
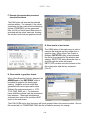
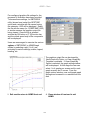
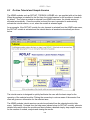
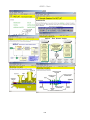
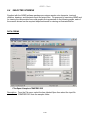
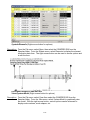
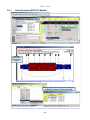
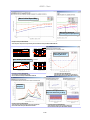
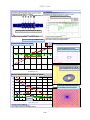
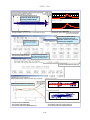
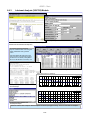
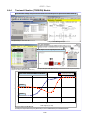
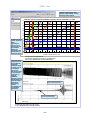
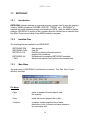
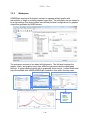
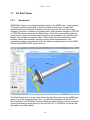
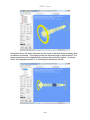
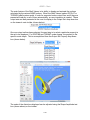
ARMD – Main
Briefly, a typical session with ARMD may be as follows;
1-
Select a module from ARMD main menu “front end” (for example, TORSION).
2-
Place a problem in memory. To use an existing file,
use the File>Open command and select an existing one.
To create a new file, use the File>New command.
3-
Edit the contents of the input file. If you need help at any time, press the F1 key
(Help button) to display context-sensitive help or go to the help menu.
4-
Save the file under a filename.
Variations of an input file can be stored using the
File>Save As command.
5-
If you want to examine the input file, you can look at
it on the screen with the View>Input File command or
print it using the File>Print command.
6-
Once the input file is setup with parameters and saved,
execute the appropriate processor/solver from the Run menu.
7-
After the processor executes, examine the text and
graphic output files generated by the processor using
the Text Output (RBTSTYPE) and Graphics output
(ARMDGraph or RBTSGRAF) utilities from the View menu.
8-
When you are finished with this preprocessor, run the
command File>Exit to return to the top-level of ARMD
menu.
9-
From the ARMD main menu “front end”, close the window to quit ARMD.
6-3