1
IPC
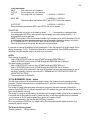
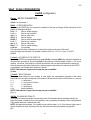
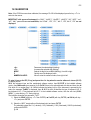
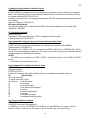
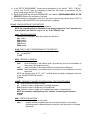
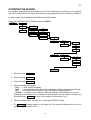
3) Select the “u.M.” step and press ENTER
Set the unit of measure (g, Lb, t, kg) and press ENTER
(!) kg
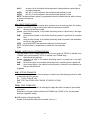
4) Select the “diU” step and press ENTER
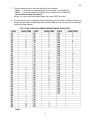
Set the minimum division and press ENTER (selectable values: 1, 2, 5, 10, 20, 50).
Ex: set 1: the right digit could change 1 by 1 : 0 , 1 , 2 …..,8 , 9
Set 2:
"
2 by 2 : 0 , 2 , 4 , 6 , 8
Set 5:
"
5 by 5 : 0 or 5
Set 10: the right digit could not change (always 0) and the digit just on the left could change 1 by 1
(!) 1
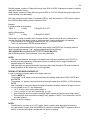
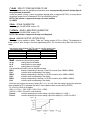
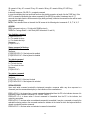
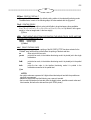
5) Select the “rAnGE1” step and press ENTER;
Set the total capacity of the scale or the first range in case of multirange functioning (ex: 002.000 it
means maximal display will be 2.000) the position of the decimal point will be set later, step dECI.
Confirm with the ENTER key.
6) Select the “rAnGE2” (if the system is a simple range, SET this value to 0) and press ENTER
Set the capacity of the second range and press ENTER
7) Select the “rAnGE3” (if the system is a simple or double range, SET this value to 0) and press ENTER
Set the capacity of the triple range and press ENTER
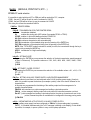
8) Select the “CALib.P” ,calibration steps, and press ENTER
9) Select the “ntP” step and press ENTER
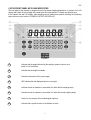
With the ->0<- or ->T<- keys set the number of points with which one wants to calibrate (from 1 to 3,
with 1 it does the zero point and one weight point) and press ENTER
N.B.: the calibration points must be increasing (point 1 < point 2 < point 3).
10) Select the “tP0” (scale zero point) step and recording of the signal of the loadcell: unload the scale
(position "0") and wait a few seconds, then press ENTER, the unit will go automaticly to the next step
after recording the sensor signal.
11) Select the “ddt1” (setting first reference weight) step ; press ENTER/PRINT, enter the weight value
that you are applying on the loadcell and confirm with ENTER
12) Select the “tP1” (acquisition of first reference weight) step: put the weight (equal at the value on ddt1)
on the loadcells, wait a few seconds and press ENTER, the unit will go automaticly to the next step
after recording the sensor signal.
13) If 1 calibration point has been set, once the weight acquisition has been made, the display shows
for an instant the value of the internal divisions and then the “ntP” step.
If there are 2 or 3 calibration points, repeat the operations for the “ddt2”, “tP2”, “ddt3”, “tP3”
points.1
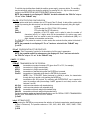
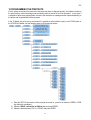
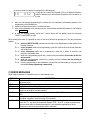
14) Once the calibration has been made of all the necessary points, press the C key various times until
the indicator shows “SAVE? in the display: confirm with ENTER to memorize and return to weighing.
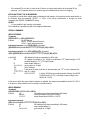
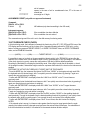
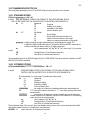
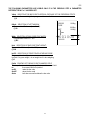
Adj.CAL MODIFICATION OF A CALIBRATION POINT
It is possible to modify a calibration point in a simple way without remake the zero calibration.
SEtuP -> ConFIG -> CALiB -> Adj.CAL
51