1
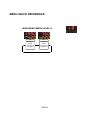
MENU LEVEL 1 FUNCTIONS
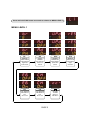
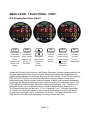
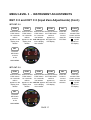
br (DISPLAY BRIGHTNESS CONTROL)
FUNC
SEL
FUNC
SEL
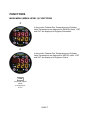
Press and Hold
FUNC button
for 5 seconds
until L1, then br
appears on the
display, then
release.
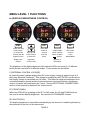
Press SEL
button to
set and
store the
mode.
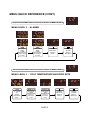
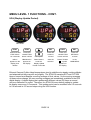
Press and
release FUNC
button until the
Return To Main
symbol
appears on
the display.
Press the
SEL button
to return
to the
MAIN MENU.
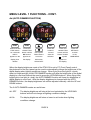
Use Up and
Down buttons
to select the
brightness
control mode.
The brightness of the digital display and the indicator LEDs can be set to 16 different
levels and be controlled in 3 different modes. These modes are as follows:
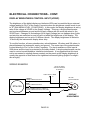
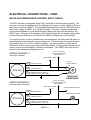
E (EXTERNAL CONTROL VOLTAGE)
An external control voltage ranging from 0V to the supply voltage is applied to pin 3 of
the Lower Electrical Connector. This voltage is sampled by the ETM-100 and its ratio to
the Supply Voltage is calculated into 16 levels. This allows a single potentiometer to be
connected between ground and the instrument power input and used as a brightness
control, its center tap used as the pin 3 input. See the ELECTRICAL CONNECTIONS
section of this manual for details of the control circuit.
FP (FRONT PANEL)
When the ETM-100 is operating in the ALT or MC mode, the UP and DOWN buttons
are used to set the display brightness. Also see the AUTO DIMMER function.
PH (PHOTOCELL)
The display brightness is controlled automatically by the amount of ambient light seen by
the photocell on the front of the instrument.
PAGE 8