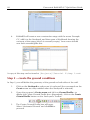
1
Tutorial 3: Cofferdam in mixed soils
10.
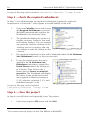
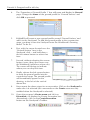
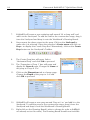
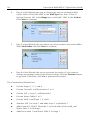
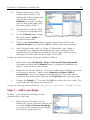
Finally, right-click on ‘Subartesian water table’ in the
Stockyard’s Objects Pane and
choose the command
Duplicate to create a carbon
copy of that water table with
the name ‘Water Table 1’.
11.
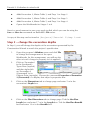
Double-click on ‘Water Table
1’ to open its properties box.
12.
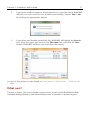
On the General page, change
the water table’s Name to
‘Pumped water table’.
13.
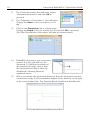
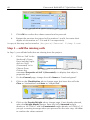
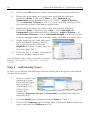
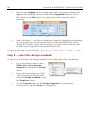
Click on the Connectivity tab to change page. Enter 0 kPa in the
Ambient Pressure box and click OK to confirm the values entered.
14.
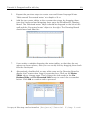
Add ‘Pumped water table’ to ‘Stage 3 (Generated)’ and ‘Stage 4
(Generated)’ by dragging-and-dropping the water table from the
Stockyard onto the Drawing Boards for those stages. Do this twice,
releasing the water table on both sides of the wall.
47
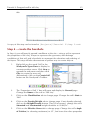
Finally, you need to change the depth of Water Table 4:
1.
Right-click on the Workbook - Stage 3 (Generated) Drawing Board
command on ReWaRD’s Window menu, to bring the Workbook for
Stage 3 to the front of your screen.
2.
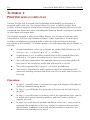
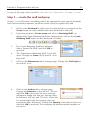
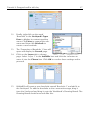
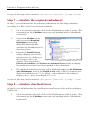
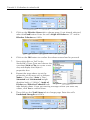
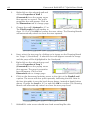
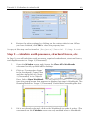
Right-click on ‘Water Table 4’ – the water table that is floating above the
excavation at present – and choose Properties of Water Table 4
(Generated)... from the popup menu that appears. The water table’s
properties box will appear. Click on the Properties tab to change page.
3.
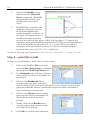
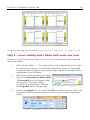
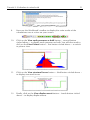
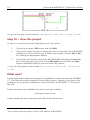
Change the Depth to 7.5 m and click OK to confirm the new value. The
water will now align with the excavation.
A copy of this step can be found at [Projects]\Tutorial 3\Step 6.rwd.
Step 7 – add a surcharge
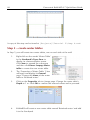
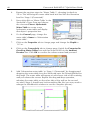
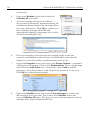
In Step 7, you will add a surcharge on the
retained side of the wall.
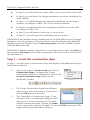
1.
Right-click on ‘Surcharge’ in the
Stockyard’s Types Pane and choose the
command New > Uniform Surcharge
to create a new surcharge and display
that object’s properties box.