1
90
Developer Manual
C.4.1
Usage
Before you can use the packaging mechanism for the first time you have to adapt the property
workspaceDirectory in the main build file build.xml to point to your workspace. The use
afterwards is very simple:
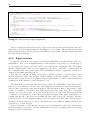
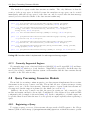
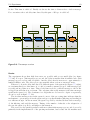
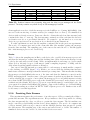
1. Launch the 1 generatePlugins target within Eclipse. The target immediately finishes
because the plugins are generated in the background. Eclipse shows a progress indicator
in the bottom right corner. As soon as it disappears, the next step can be executed.
2. Execute the 2 package target. After the target finished, the build is copied to the
packages directory. The build is copied into a new directory (named after the generation date). Additionally, the build in the current directory is overwritten.
3. To make the build available commit the build in the current directory. The benchmarking
framework (see below) then deploys this build in the future (it gets the build from the
SVN repository).
C.5
Benchmarking Framework
The framework described in section 5.1 can be used for deploying and configuring a build of
Wisspr on a set of machines. Furthermore, benchmarks can be executed on a set of machines.
C.5.1
Preparing a Machine
Before a machine can be used with the benchmarking framework a few preparation steps are
necessary. The framework connects to the machines via SSH. In order to do that, the machines
must be configured to allow public key authentication. The private key must be available on
the machine on which the benchmarking framework is run. Furthermore, the key must not
have a passphrase. The key must give access to the root account since the framework needs to
start and stop system services (like RabbitMQ or databases).
Several directories need to be created on the target machine:
• /var/wisspr/
• /var/wisspr/gateway
• /var/wisspr/PhidgetsRFIDDriverStandalone
• /var/wisspr/SunSpotDriverSimulatorStandalone
• /var/wisspr/SunSpotDriverStandalone
If you plan to use the machine for the messaging module you of course have to install
RabbitMQ and RabbitHub first (see section B.2). After the installation you have to create the
directory /var/rabbitmq-server/sbin/. And finally, you have to copy the script from the
Benchmarking framework root directory called initd-rabbitmq-server to the newly created
directory.