1
Section 3 Operation
Installation and Operation Manual
X-PR-LR-056-PD-eng
Part Number 541B171AAG
February, 2012
Brooks® LR-056
Special menu 3 - Load defaults
Load defaults
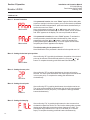
The plug-on display software can switch the device back to the defaults.
This can be used to cancel any changes to the offset and range that had
been carried out.
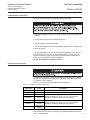
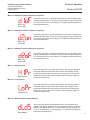
To load the defaults set the number “0729”. Confirm by pushing both
buttons simultaneously. “LoAD” appears in the display.
Pressing the two buttons again loads the defaults.
Please note that the password will also be set on its default.
Special menu 4 - Set new password
Set Password
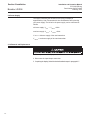
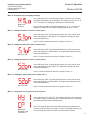
To change the password, set the number “0835” using the “ “ or “ “
buttons. Confirm by pushing both buttons. When confirmed with both
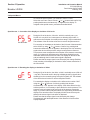
buttons “SEtP” appears in the display. Next, set a password using the “ “
or “ “ buttons. It can freely chosen (0 to 9999). However, it must not be
identical with the code numbers of the special functions. (This means the
numbers 0238, 0247, 0729 and 0835 are exempt.) Finally, confirm the
password by pressing both buttons. To activate the password, follow the
steps in the “PAon” menu 1, pg 3-4.
Special menu 5 - Active contact message
Open collector on
Open collector off
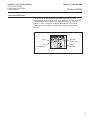
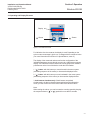
For identification of active contacts, the display is used. Depending on the
active contact messages “on1” or “on2” will be given out, in change with
the measured value. If both contacts are active, the message “on12” will
be indicated in the display. (If no contact is active, no message will given
out.) If an indication of this message is not desired it can be turned off by
this special menu.
To turn the function on or off, which gives the message out, set the
number “0015” using the “ “ or “ “ buttons. When confirming it with both
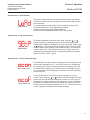
buttons, this function will be automatically be turned on or off. If “ocon” is
indicated in the display, messages will be given out. If “ocof” is indicated in
the display, no messages will be given out when the contacts are active.
Please note the the exceeding message “HI” or “Lo”, if turned on by menu
6 (HILo), appears in change with the contact message.
3-9