1
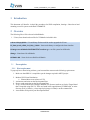
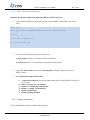
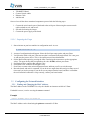
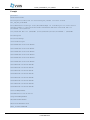
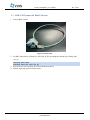
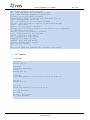
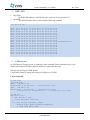
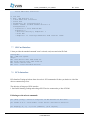
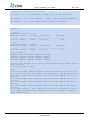
VVDN_T4240MFCS_User_Manual Rev. A0-02 T4240MFCS Board Custom Console cables Ethernet Cable Add On card Once we have all the above mentioned components proceed with the following steps: 1. Connect the serial console port of the board to the serial port of host using the custom console cables on both server1 and server2. 2. SD cards for booting the images. 3. Connect the power supply to the board. 2.1.2.1 Preparing the Target 1. Start minicom on your host machine in configuration mode. As root: # sudo minicom -s -w 2. A menu of configuration should appear. Select the Serial port setup option, and press Enter. 3. Verify that the listed serial port is the same one that is connected to the target board. If it is not, press A, and enter the correct device. This is /dev/ttyS0 on most Linux distributions. 4. Set the Bps/Par/Bits option by pressing the letter E and using the next menu to set the appropriate values. You press the key that corresponds to the value 115200, and then press Enter. 5. Set Hardware flow control to No using the F key. 6. Set Software flow control to No using the G key. 7. Press Enter to return to the main configuration menu, and then press Esc to exit this menu. 8. Reset the board, and wait for a moment. If you do not see output from the board, press Enter several times until you see the prompt. If you do not see any output from the board, and have verified that the serial terminal connection is setup correctly, contact your board vendor. 2.2 Configuring the Network Interface 2.2.1 Finding and Changing the MAC Address The MAC address on the T4240MFCS is set by the ethaddr environment variable in U-Boot. If ethaddr is not set, it can be set using the setenv command. Example setenv ethaddr 00:11:22:33:44:55 The MAC Address can be found using the printenv command in U-Boot. 8 CONFIDENTIAL