1
5.3.3. Trigger
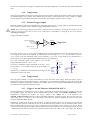
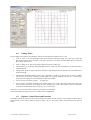
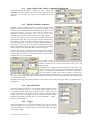
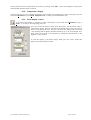
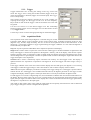
Trigger characteristics are set using the settings in the Trig Control sub
menu. The Trigger Source setting can be either Internal (trigger on any one
of the input channels) or External (trigger on an external input). The Trigger
Class is always Edge.
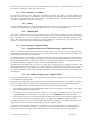
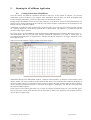
The Coupling section also contains a selection for AC or DC coupling. AC
coupling on the trigger sets the trigger circuit to an AC Low Frequency
Reject mode. In this mode the trigger is auto-level and the level value will
be ignored.
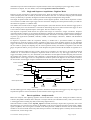
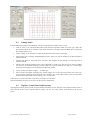
Use the Level section to set the desired trigger level. The relationship
between coupling, trigger source, and trigger level was discussed in section
3.3.3, Trigger Level.
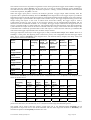
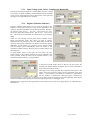
Use the Slope section to choose the appropriate edge for the desired trigger.
5.3.4. Acquisition Mode
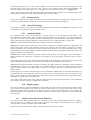
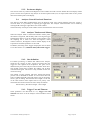
The acquisition mode of the analyzer/digitizer is selected using one of four
acquisition mode buttons in the Acquisition section of the Control panel. Available acquisition modes are Auto
(digitizer only), Normal, Single and Stop. The use of each of the acquisition modes is described below. In the
discussion, a valid trigger indicates a trigger signal meeting the trigger conditions at a time when the digitizer is
armed and ready to acquire data.
Stop will stop the acquisition and hold the latest complete acquisition on the display.
Single mode is used in order to capture one event at the first valid trigger or the desired number of segments for that
many valid triggers. It freezes the acquisition in the digitizer’s memory, and on the display, until the user requests
another acquisition. After an acquisition is taken in Single mode, the digitizer will ignore subsequent trigger events
until the Single button is pressed again or another acquisition mode is selected. Pressing the single button re-arms the
trigger and captures a new acquisition.
Normal mode is used to continuously acquire waveforms into memory for valid trigger events. The display is
updated with the new acquisitions. Acquisitions will happen for each valid trigger until either single or Stop is
pressed.
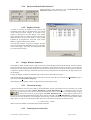
If the trigger indicator at the lower left of the waveform display does not blink green, the digitizer is not receiving
valid triggers. Check the trigger settings or select Auto mode in order to obtain a display of the waveform.
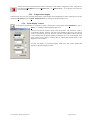
Auto mode will acquire and display waveforms according to the trigger settings if a valid trigger is present within a
timeout interval. If a valid trigger is not available within this interval, the digitizer generates its own trigger in order
to digitize and display whatever signal is at the input at that time. It can only be used when in digitizer mode.
If valid triggers are received at a high enough rate, Auto mode behavior differs little from normal mode behavior on
the display. However if the trigger rate is too low or trigger settings are not appropriate for the characteristics of the
signal, the input signal will not be stable on the display. This occurs because the internal auto-trigger generated by
the digitizer is asynchronous to the input signal.
Auto mode is often used to aid in setup when the input signal must be quickly characterized in order to determine
proper trigger settings for Normal or Single mode acquisitions.
User Manual: Family of Analyzers
Page 51 of 56