1
4-52
ug-1137
2014.12.15
Starting the Eclipse IDE
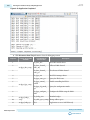
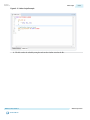
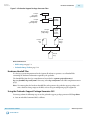
The provided sample application prints a “Hello” message on the debugger console, by using semihosting.
This way no pins are used and all communication happens through JTAG.
The application is located in the 64 KB On-Chip RAM, and therefore does not require the SDRAM
memory on the board to be configured.
This application can run on any board supporting the SoC device because of its simplicity, and it does not
require pins or external resources to be configured.
Note: Make sure that Linux (or another OS) is not running on the board prior to doing this example. An
OS can interfere with the feature of downloading and debugging bare-metal applications.
Note: The screen snapshots and commands presented in this section were created using the Windows
version of SoC EDS, but the example can be run in a very similar way on a Linux host PC.
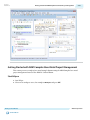
Starting the Eclipse IDE
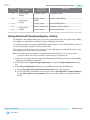
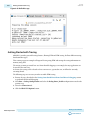
1. Select Start Menu > Programs > ARM DS-5 > Eclipse for DS-5 to start Eclipse. Alternatively, you can
run eclipse command from the Embedded Command Shell.
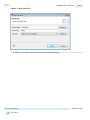
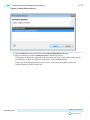
2. The Eclipse tool, part of ARM DS-5 AE, prompts for the workspace folder to be used. Use the
suggested folder and click OK.
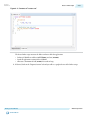
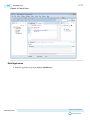
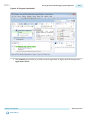
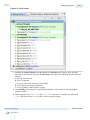
3. The ARM DS-5 AE "Welcome" screen appears. It is instructive, and can be used to access documenta‐
tion, tutorials and videos.
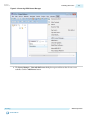
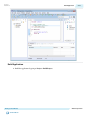
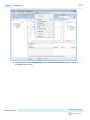
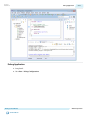
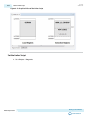
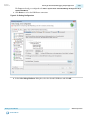
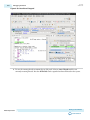
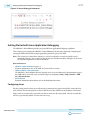
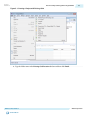
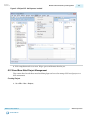
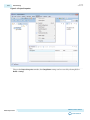
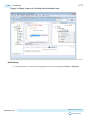
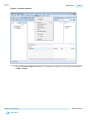
4. Select Window > Open Perspective > DS-5 Debug to open the Workbench. Alternatively, you can
Click on the link Go to the Workbench located under the list of "DS-5 Resources".
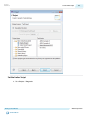
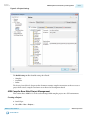
Importing the Bare-Metal Debugging Sample Application
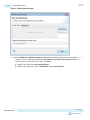
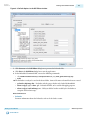
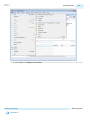
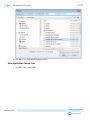
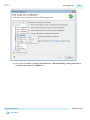
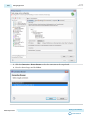
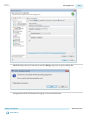
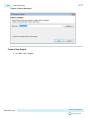
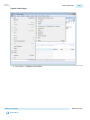
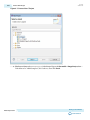
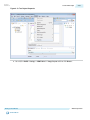
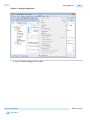
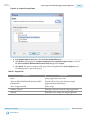
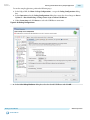
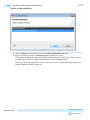
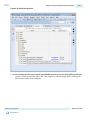
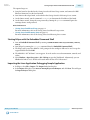
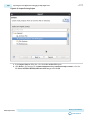
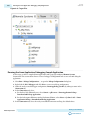
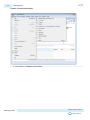
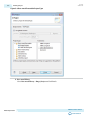
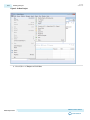
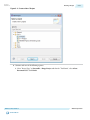
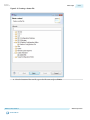
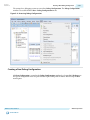
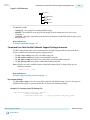
1. In Eclipse, select File > Import. The Import dialog box displays.
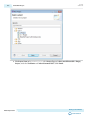
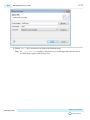
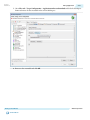
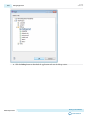
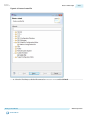
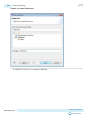
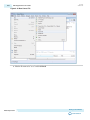
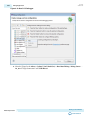
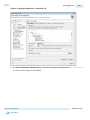
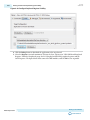
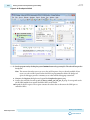
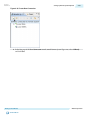
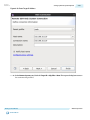
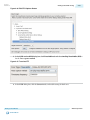
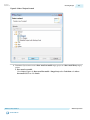
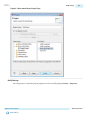
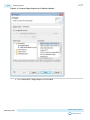
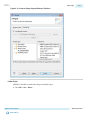
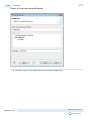
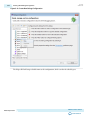
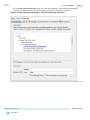
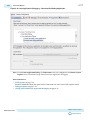
2. In the Import dialog box, select General > Existing Projects into Workspace and click Next. This will open
the Import Projects dialog box.
Altera Corporation
Getting Started Guides
Send Feedback