1
G-SATA Installation Guide
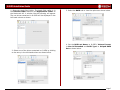
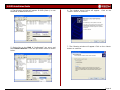
12. Windows will format the volume and then display the
following window. Disk 1 is now identified as G-SATA (E:).
Exit the Computer Management console.
8. Hot-Swap Procedure for G-SATA
A great feature of G-SATA is its ability to be connected and
disconnected while your computer is running. To prevent
failures and/or data loss it is important to follow the steps
below when hot-swapping G-SATA.
8.1 Mac OS X Computers -Removing G-SATA
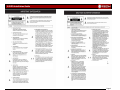
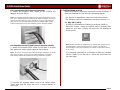
1. Drag the G-SATA icon to the TRASH located in the dock.
2. After dragging G-SATA to the TRASH, power off G-SATA.
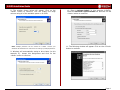
3. The following dialog boxes will be displayed. Click <OK>
in each box to complete the hot-swap removal procedure.
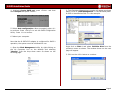
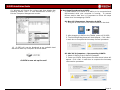
13. G-SATA will now be displayed as an available hard
disk drive under My Computer as shown below.
G-SATA is now set up for use!!
8.2 MAC OS X Computers – Reconnecting G-SATA
1. Attach G-SATA to the G-SATA PCI adapter
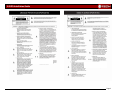
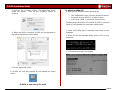
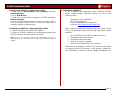
2. Power on G-SATA. Dialog boxes like that shown below will
appear. Click <OK> in each box to complete the hot-swap
reconnection procedure.
Page 12