1
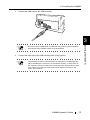
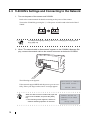
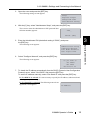
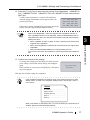
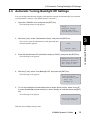
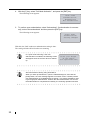
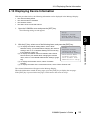
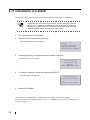
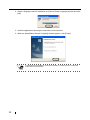
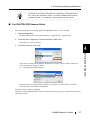
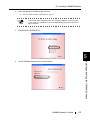
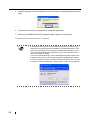
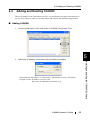
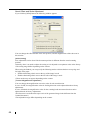
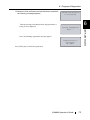
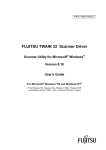
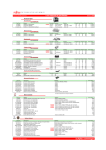
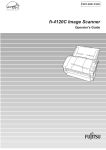
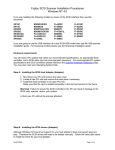
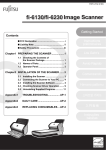
3.3 fi-5000N's Settings and Connecting to the Network
1. Turn on the power of the scanner and fi-5000N.
Refer to the scanner manual for details on turning on the power of the scanner.
Turn on the fi-5000N by pressing the "|" of the power switch located at the back of the fi5000N.
Power OFF
ATTENTION
Power ON
To change the language setting, refer to "3.4 Changing the Language Setting" (page 18)
2. When "The network cable is disconnected" appears on the fi-5000N’s Message Display, connect the network cable to the network connector at the back of fi-5000N.
The following screen appears.
If the network support DHCP and the process goes successfully, "Place your finger on the sensor." message appears.
HINT
14
When the above screen remains still, open the
cover of the fi-5000N, and press the [ESC]
key.
⇒ The following screen appears, and the IP
address obtaining operation is canceled.
Obtaining IP address
from DHCP server...
Cancel:[ESC]
Cannot obtain IP
address from DHCP
server.
Setup:[SET]