1
Appendix A Installation of Lightning Arrester for
Network Interfaces
z
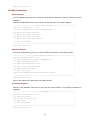
You can install a lightning arrester only for each 10/100 Mbps electrical Ethernet interface
supporting RJ-45 connectors.
z
No lightning arrester for network interface is supplied with the access controller.
If an outdoor network cable should be directly led to the access controller, to prevent possible damages
to the access controller due to lightning strike, please serially connect the lightning arrester for the
network interface before you plug the outdoor cable into the access controller.
Tools
z
Philips or flat-blade screwdrivers
z
Multimeter
z
Diagonal cutting plier
Installation Procedure
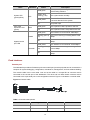
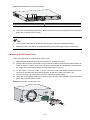
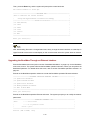
Step1 Remove the protective paper on one side of the double-faced adhesive tape and stick it on the shell of
the arrester; remove the protective paper on the other side and stick the arrester on the chassis of the
access controller. Keep the arrester as close to the grounding screw of the access controller as
possible.
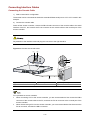
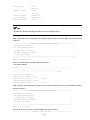
Step2 Cut the ground cable of the arrester of a suitable length according to the distance between the arrester
and the grounding screw and then fasten the cable on the grounding screw tightly.
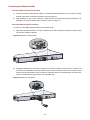
Step3 Use the multimeter to verify whether the ground cable of the arrester has a close touch with the
grounding screw and chassis of the access controller.
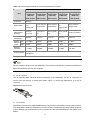
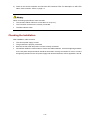
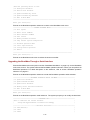
Step4 Follow the instruction of the arrester to connect the arrester for network interface with a transit cable.
Pay attention to the direction: IN end of the cable is connected to the arrester while OUT end of the
cable is connected to the access controller. After the connection, check whether the LEDs of the
interface modules are normal.
A-1