1
System Administration
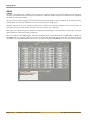
It is possible to create customised format presets, but we suggest that you experiment with these on the control surface
to ensure that you understand how they work before using them on-air!
All of the Pan Format settings are stored in a new Element within each Project.
Occasionally, it may be desirable to change a channel’s format between two presets that have the same number of
components – e.g. a VTR was playing 4 mono tracks but is now playing 2 stereo tracks. Without destroying your channel
settings, it is possible to reconfigure a channel while on-air to handle such a change:
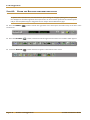
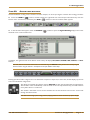
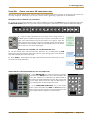
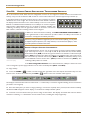
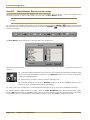
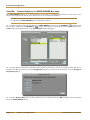
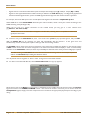
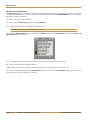
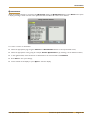
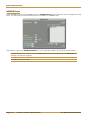
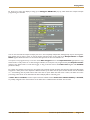
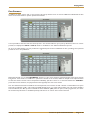
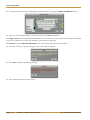
‰ Press the ch Set button on the Master Control Strip.
‰ Select the appropriate channel using the Att button.
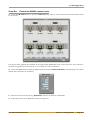
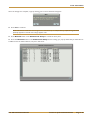
‰ Scroll the cursor down to Format and select the new preset you’d like to apply.
As long as the current format and the new format have the same number of elements, the console does not need to
release the DSP from that fader and then remake the channel (which is a destructive process), so you have a new option
'change to Format'. Selecting this option will retain the DSP and all of the channel’s settings, but it cancels the channel
on button to avoid any noise being generated while the format is reset – so remember to switch the channel back on
again afterwards! That channel immediately provides the panning and other related features relevant to the format preset
that was chosen.
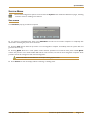
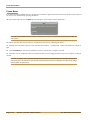
Auto Format
Channels can be automatically reformatted when an input source of a different format is routed to it, without editing the
channel Settings display.
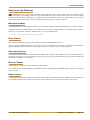
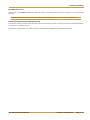
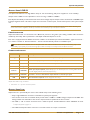
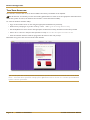
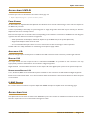
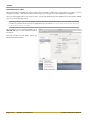
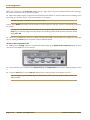
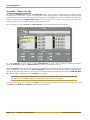
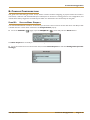
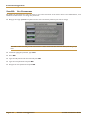
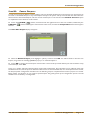
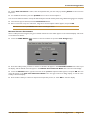
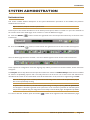
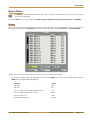
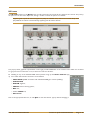
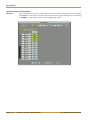
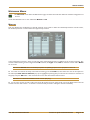
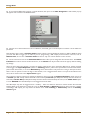
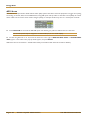
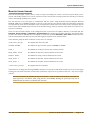
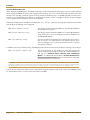
To activate this feature, open the Auto Format pop-up located, located in the config menu:
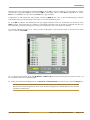
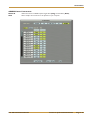
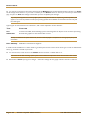
Touch the button to switch auto-formatting on and off – Auto-formatting is on when the button displays reformat to
match source (yellow background) and off when it displays Preserve format on re-route (blue background)
Page 5-48 | Section 5: System Administration
C10 HD Installation Manual