1
4
A: IO Configuration
S
1
Step A9:
2
check the neW io conFiGURAtion.
4
4
a t
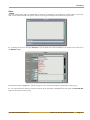
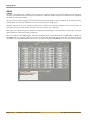
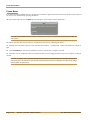
We will now run through the basic channel routing and monitoring operations necessary to confirm that the sources are
correctly configured. It will help if you can use a source which is generating a signal that can be auditioned!
2
ASG 3
ASG 4
ASG 5
ASG 6
ASG 7
1
ASG 8
PGM
2
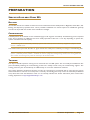
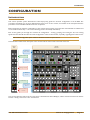
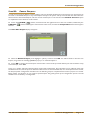
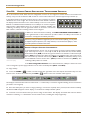
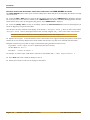
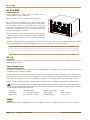
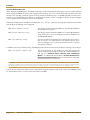
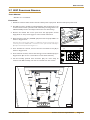
ASSiGninG inpUt SoURceS to chAnnelS:
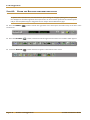
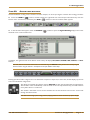
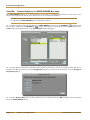
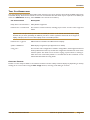
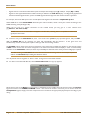
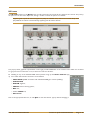
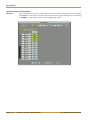
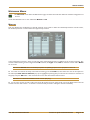
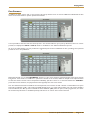
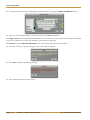
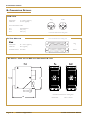
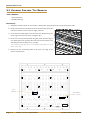
‰ Assign the input routing function to the channel softkeys by pressing the Rte button at the right-hand end of the
FUNCTION SELECT panel. The Input and Insert lists will appear in the bottom of the Channel Information Display.
FUNCTION
F
UNCTION S
SELECT
ELEC
CT
M
1
3
2
M
7
5
6
4
1
8
M
3
5
4
2
9
7
8
6
11
12
10
Function Select panel
M
15
16
PA N
PAN
S
E
S
I
1
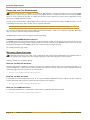
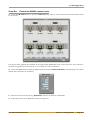
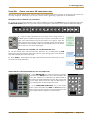
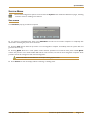
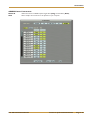
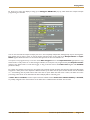
RoUtinG the chAnnel to the pRoGRAmme BUS:
G
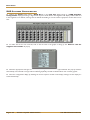
‰ Lift the channel fader, and ensure that the channel is ‘on’, as indicated by the on
button above the fader being lit, andM by the
presence of the moving
metersM in the Channel
M
M
Information Display above the fader strip.
M
PGM Routing
Buttons
N
1
1
1
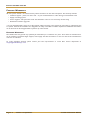
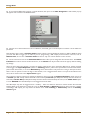
AUditioninG the pRoGRAmme BUS on the monitoRS:
N
N
M
1
M
1
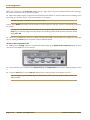
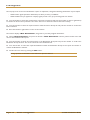
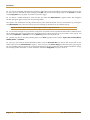
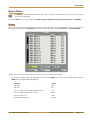
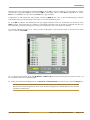
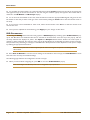
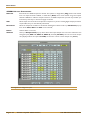
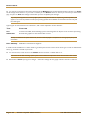
‰ In the monitoR area of the Touchscreen, touch the
G
top button
in the mAin column. This routes the PGM 1 busG
to the main monitors, as indicated by the label beneath it.
0
0
0
0
The
button
surround
should
become
blue. AlsoN ensure
thatN
N
N
the Solo Clear button below the AFL and PFL buttons is
grey, indicating that no AFLs or PFLs are active.
‰ In the MONITOR CONTROLS area of the Centre
Section,
ensure
that neither
the dim nor cUt buttons
are
0
0
0
0
N
N
active,
and turn up the encoder.
The signalN selected for the
channel input should now appear on the monitors.
L
0
0
0
0
0
0
0
0
0
0
0
0
M
1
T
1
MONITOR
MONITOR CONTROLS
CONTROLS
L
C
O
R
0
0
LS
LS
LFE
LFE
CUT/SOLO
CUT/S
SOLO
0
RS
R
S
L
5
.1
5.1
0DIM
DIM
CUT0
CUT
MONO
MONO
N
0
FLIP
FLIP
0
0
1
PFL
P
FL
0
0
Monitor Controls
0
0
0
0
Section 4: Configuration | Page 4-19
0
0
M
0
T
0
C10 HD Installation Guide
0
AFL
A
FL
0
0
N
1
L
0
0
ON
O
N
L
M
M
PGM
GM
P
2
1
L
N
PGM
P
GM
1
Channel On
Button
N
4
1
1
1
1
8
1
O
C
M
1
R
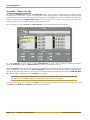
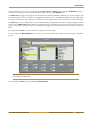
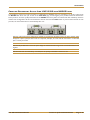
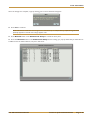
‰ Press pGm 1, located above the eight numbered buttons in the fader strip, to route
D
the channel to Programme Bus 1.
1
1
O
1
M
G
Upper
Quik-Knob
Upper
P
Quik-Key
M
M
Y
9
2
N
M
R
RTE
TE
T
P
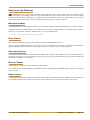
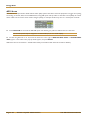
‰ F Using the FUpper Quik-Knob inF any channel, move Fthrough the
list of
O
R
4
1
available inputs as (indicated
by the source names 1in the black 1box to the
right of the Take button) and press the button to its right to ‘Take’ the
input signal (in other words, to assign the selected input to the channel). If
the channel was unformatted,
it will now automatically take on the format
8
1
1
1
(mono, stereo
or
5.1)
of
the
input
signal.
N
N
1
O/P
O /P
D
1
M
M
II/P
/P
4
M
IX M
IN US
MIX
MINUS
A
UX
AUX
M
13
14
0
0
0
0
0
0
0
0
N