1
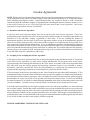
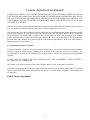
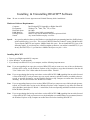
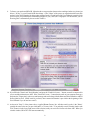
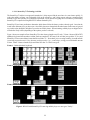
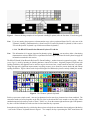
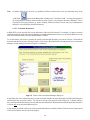
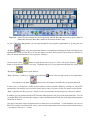
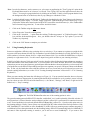
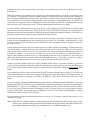
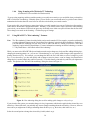
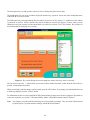
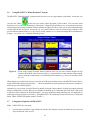
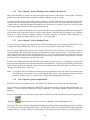
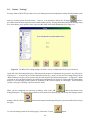
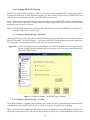
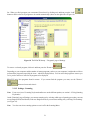
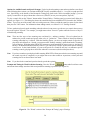
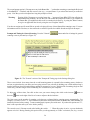
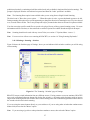
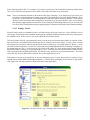
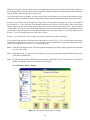
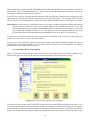
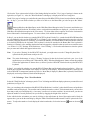
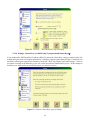
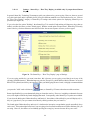
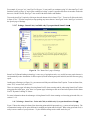
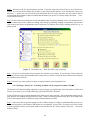
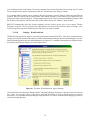
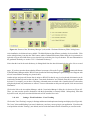
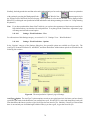
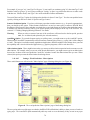
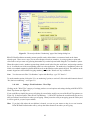
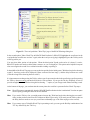
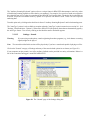
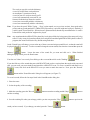
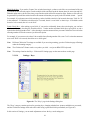
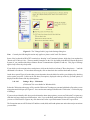
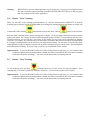
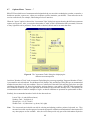
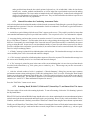
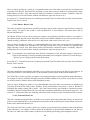
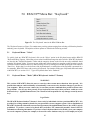
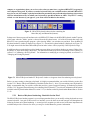
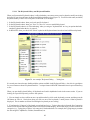
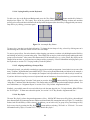
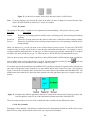
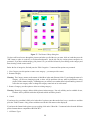
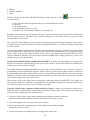
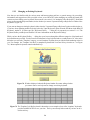
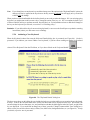
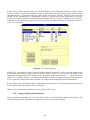
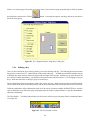
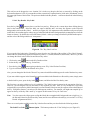
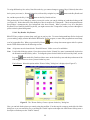
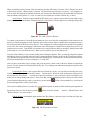
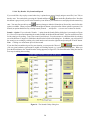
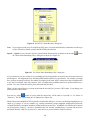
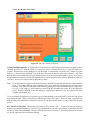
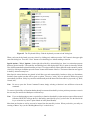
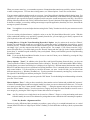
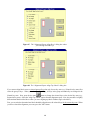
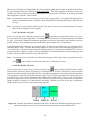
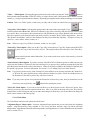
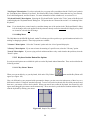
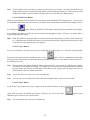
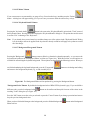
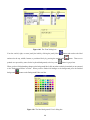
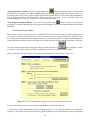
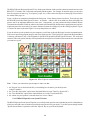
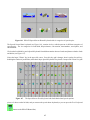
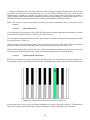
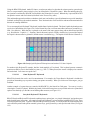
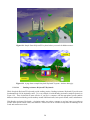
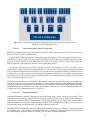
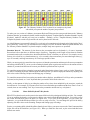
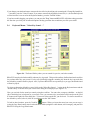
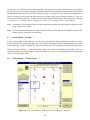
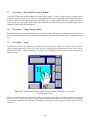
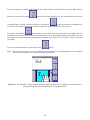
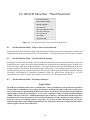
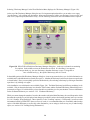
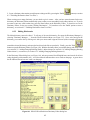
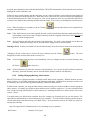
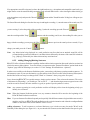
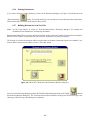
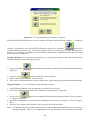
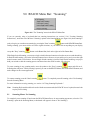
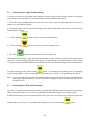
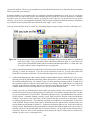
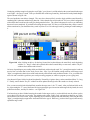
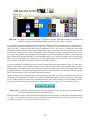
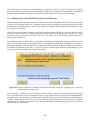
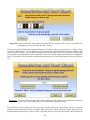
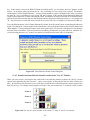
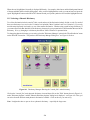
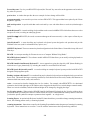
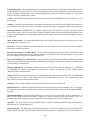
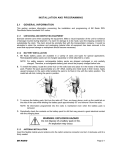
5.2.3
Changing an Existing Keyboard
Now that you are familiar with the various menu and button options and have a general strategy for proceeding,
information and suggestions will be provided on how to use REACH™ when changing an existing keyboard (this
section) or when creating a new keyboard "from scratch" (see section 5.2.4 "Authoring a New Keyboard"). Recall that
when you first start the Keyboard Author, it asks whether you want to "Open and Change a Keyboard" or "Make a New
Keyboard" (Figure 78).
If you want to change an existing keyboard, either select the "Open and Change a Keyboard" option on this window or,
if you have been authoring another keyboard, select the "Open Keyboard" option from the File Menu in the REACH
Keyboard Author™. In either case, the "Keyboard Gallery . . ." dialog box is presented (see section 5.2.1.1 "The
Keyboard Gallery and Keyboard Families" for more information on the Keyboard Gallery).
While you have the Keyboard Gallery . . . dialog box open, browse through the different categories of keyboards and
keyboards that are provided. You also can click on the name of any keyboard and see a small picture of it. Also, notice
that when you select the "Template" category, several "template" keyboards are provided to make authoring easier for
you. For example, the "Template 5x10.kbd" is a template keyboard with 5 rows and 10 keys in each row – see Figure
79). Most template keyboards contain undefined keys.
Figure 78. Window displayed when the Keyboard Author first starts asking whether
you want to start a new keyboard or change an existing keyboard.
Figure 79 The Template 5x10.kbd keyboard is shown here as an example of one of the "template" keyboards
provided with REACH™ to save you time. The keys are already laid out and all you have to do is
define each key.
126